Chalkboards are a great tool for making lists, staying organized, and expressing your creativity. But what if there was a way to incorporate this into your home’s design? Well, there is, and it’s easier than you might think. With some prep work and specialized paint, you can create your own chalkboard wall in your home. So whether you’re looking to switch up the look of your Sacramento home or adding a unique design element to your living space in Houston, here’s Redfin’s step-by-step guide on how to create a chalkboard wall.

1. Choose the perfect wall
The first step in creating a chalkboard wall is selecting the right location. Consider high-traffic areas like the kitchen, playroom, or home office. According to Josh Buchanan of Pacific Coat Painting, you should apply chalk paint to smooth walls or surfaces. “Try to find a smooth drywall surface, a cabinet facing or a pantry or closet door,” he says. “If applying over heavy texture or an uneven surface, some minor prep will be involved to ensure usability and performance.”
“Turning an unused wall or hallway into a decorative and functional chalkboard is doable in almost any sized home,” says Angela Gast of Mighty Mrs. “When you add a strip of wood and wallpaper to the top, your chalkboard becomes a statement wall giving your home that designer look with very minimal effort. “
2. Gather your materials
To make a chalkboard wall, you’ll need the following materials:
- Chalkboard paint: Available in various colors, this specialty paint is designed to turn any surface into a chalkboard.
- Paint primer: Essential for ensuring good paint adhesion.
- Painter’s tape: For neat edges and protecting surrounding areas.
- Paint brushes or rollers: To apply the paint evenly.
- Sanding paper: For smoothing the wall’s surface.
- Chalk: Standard white or colorful chalk to get started.
3. Prepare and prime
The first thing you need to do is make sure your wall is clean. “Before you start painting, make sure to clean the surface thoroughly,” says Rizal Coleman of Los Angeles-based Sydney Harbour Paint Co. “Remove any dirt, dust, or loose paint. You want a smooth and clean canvas for your masterpiece. If there are any cracks or holes, fill them in with a suitable filler and sand them down. Remember, a little prep work goes a long way.”
Once your wall is clean, prepare it for the chalkboard paint by applying some primer, and once it’s dry, sand it again for a smooth finish.
“A typical coat of chalkboard paint requires two coats of primer followed by two coats of finish,” says Derek Epstein from Dependable Painting & Remodeling. “You’ll need to wait 24 hours between each coat so they can dry completely — otherwise they won’t stick properly when you use them later on.”
4. Apply the chalkboard paint
Now, it’s time to apply the chalkboard paint. Follow the manufacturer’s instructions, which typically involve applying at least two coats. Allow enough drying time between coats.
5. Season the chalkboard
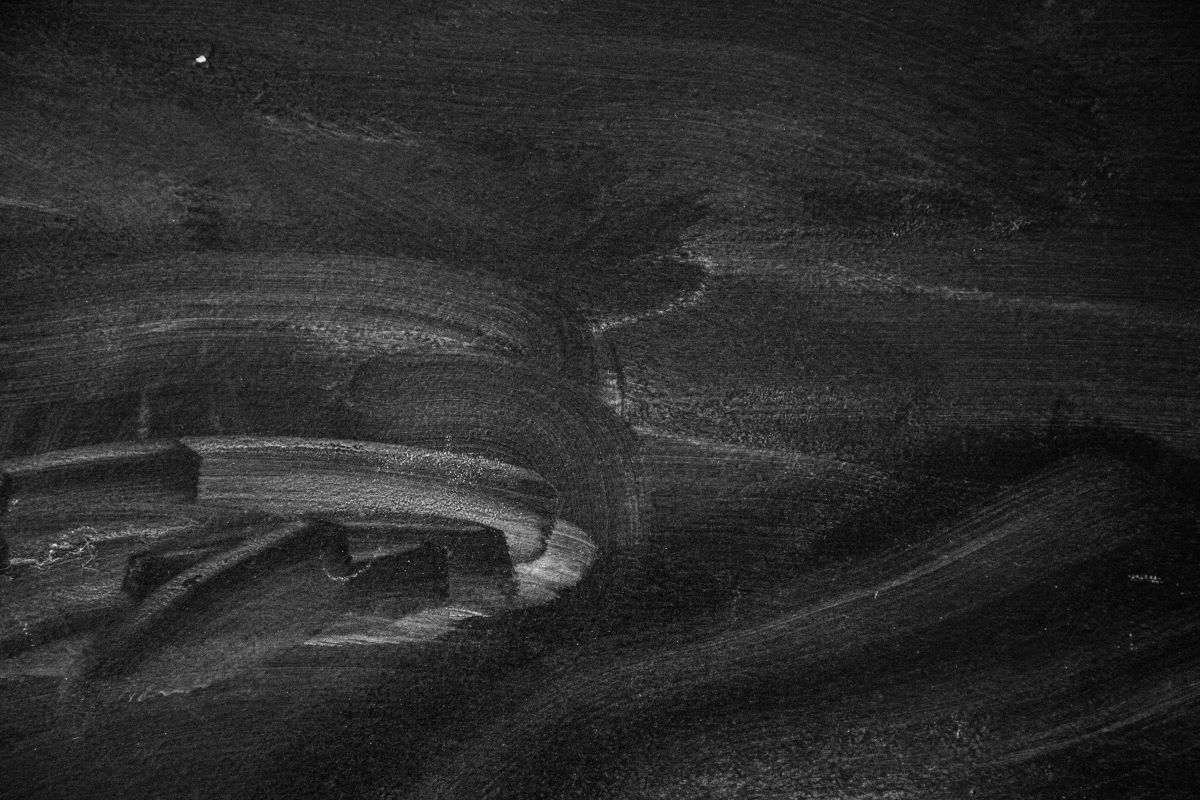
“For a perfect chalkboard wall, don’t forget to season your chalkboard,” says Cassie May of Little Red Window. “All you need to do is rub the long side of a piece of chalk over the chalkboard surface and rub it in with a dry cloth. This thin layer of chalk dust will make your chalkboard surface easier to clean and erase and it will keep your first chalk drawing from leaving behind permanent ghost marks, so don’t skip this step.”
6. Get creative
With your chalkboard wall ready, let your creativity flow. Use it for daily to-do lists, inspiring quotes, artwork, or even as a canvas for children’s drawings. The beauty of a chalkboard wall is its versatility and adaptability.
7. Maintenance and care
To clean a chalkboard wall, all you need is a damp cloth or sponge. Avoid using abrasive cleaners that may damage the surface. If you want to refresh the chalkboard’s appearance, simply apply a new coat of chalkboard paint.
Can you get rid of a chalkboard wall?
While chalkboard walls are a great way to switch up your home’s aesthetic, you might eventually decide to go for a new look. Luckily, getting rid of a chalkboard wall is as simple as sanding and painting over the existing surface.
A final note on creating a chalkboard wall
Creating a chalkboard wall is a simple yet transformative way to inject creativity and functionality into any space. By following our easy guide, you can quickly turn any wall into a canvas for art, organization, or brainstorming, adding a touch of interactive fun for all ages. So, grab your chalk, embrace your imagination, and enjoy the endless possibilities your new chalkboard wall brings to your daily life.




















 United States
 Canada