Succulents are all the rage for those of us who don’t have the space to garden, or just aren’t all that good at keeping plants alive. They’re small, require little sunlight and water, and aren’t appetizing to your pets. This is an actual concern of ours! We brought home an herb plant a few years ago, and our cat ate so much of it that he threw up. We woke up to demolished plants and a pile of vomit on the floor. Fun times, right?
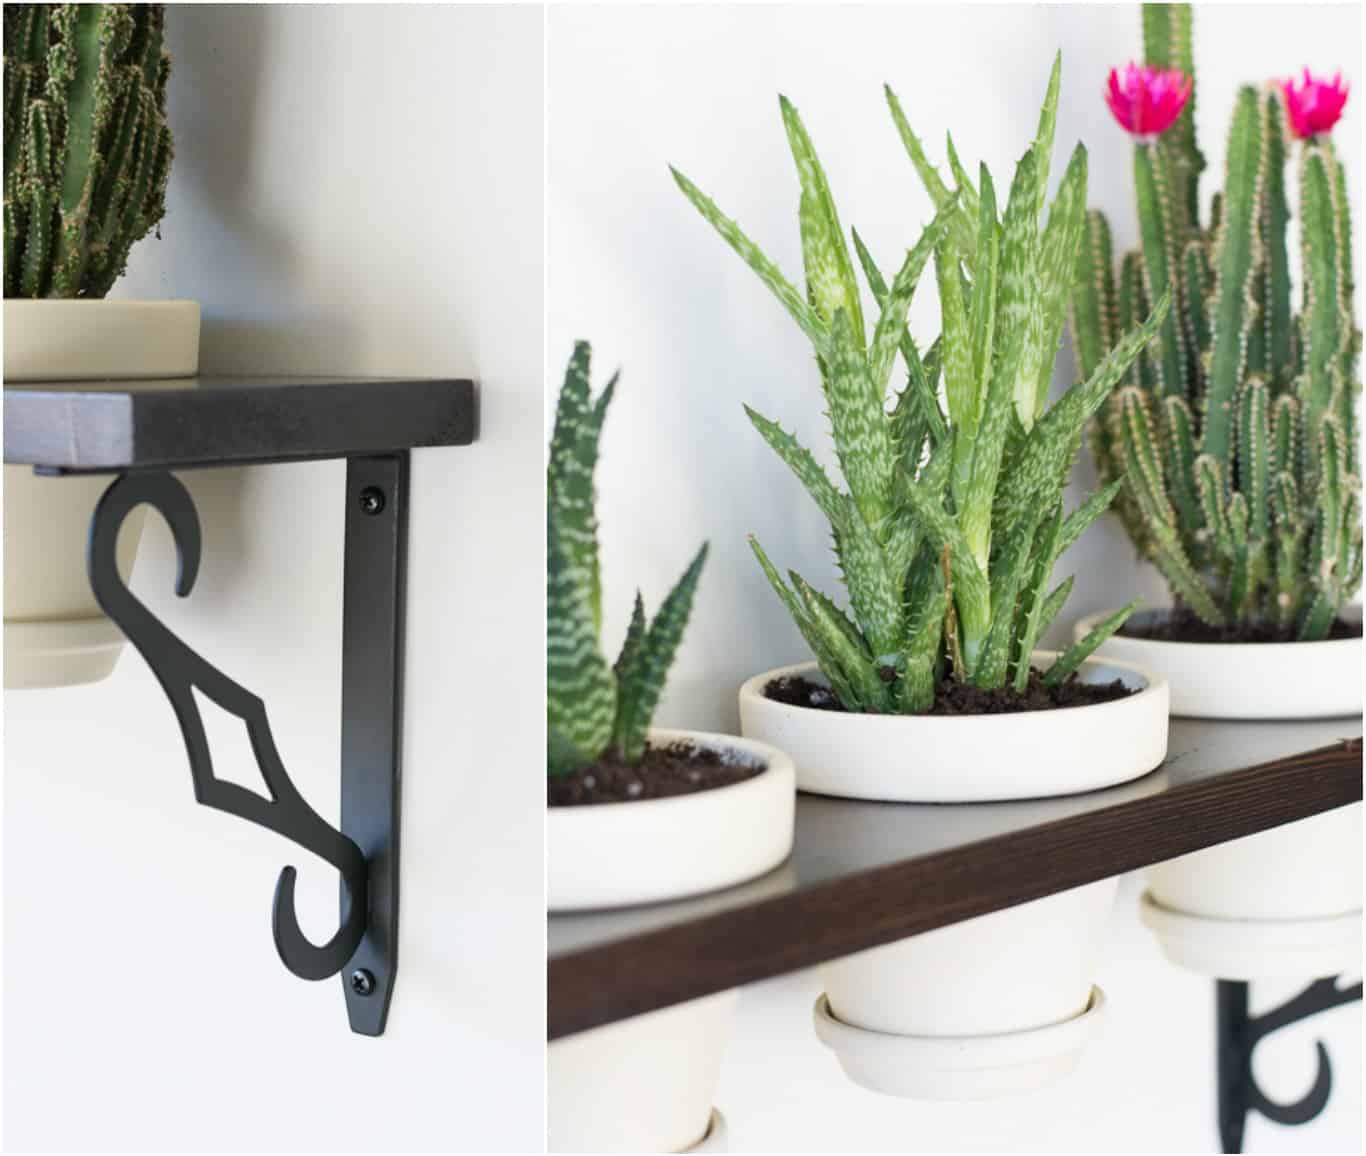
I started researching ways to mount a garden to a sunny wall that is out of our cat’s reach. Would you believe that I couldn’t find anything on the Internet that I liked? Me neither. I didn’t want anything to do with mason jars, because they don’t have drainage and I’m generally not a mason jar decor kind of gal. So, I spent an evening searching for inspiration and came up with a plan to make a hanging indoor garden. Here’s how the finished product turned out.
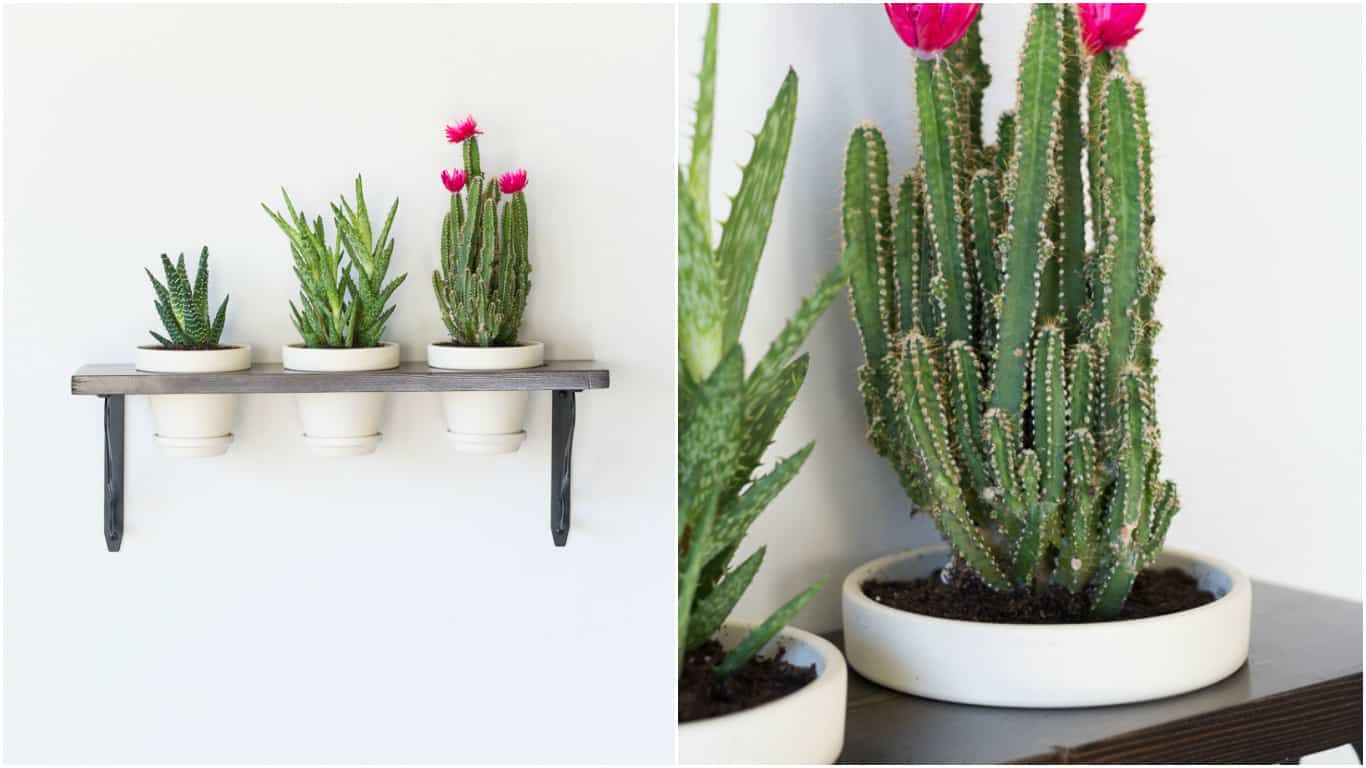
DIY Hanging Garden
I originally planned to make this an herb garden, but it turns out there isn’t anywhere on our wall that gets enough sunlight to keep herbs thriving, and the window sill isn’t an option with our little plant feaster in the house. Succulents were the best option.
I really like how the planter looks with these plants in it. If your house has a wall that gets enough sun, go forth with your herb garden. If not, give succulents or cacti a try.
Supplies:
- 1″x 6″ piece of pine cut to your desired length
- 4″ hole saw
- Rust-Oleum wood stain in Kona and a finish of your choice (I used this)
- Hand sander with 100-grit sandpaper and one piece of fine sandpaper (I used 220-grit)
- Terracotta pots with a 4.5″ diameter opening
- Krylon chalky finish spray paint in Colonial Ivory and protective spray in Clear Matte
- Gorilla Glue and plastic beads (like these, but you can use anything similar)
- Measuring tape and pencil
And here’s how you’ll do it:
Step 1:
Pick up a piece of wood from your local hardware store. I used pine. I bought a 1 in. by 6 in. piece (cut to 20 inches) because each of my pots has a 4.5-inch diameter at its opening, and I wanted to have a bit of shelf left on each side after cutting the circles.
Step 2:
Decide where your pots will go and then measure and mark the center points for each of your three circles.
Step 3:
Use a hole saw to cut the holes. If you don’t have a friend with a hole saw, Google “rent tools” and see what your options are in your area.
We used a 4-inch hole saw and pots with 4-and-a-half-inch openings because I wanted the pots to sit in the holes without falling through. If you make the holes too big, the pots will fall through, and you won’t have a hanging garden. You’ll have dirt all over the floor.
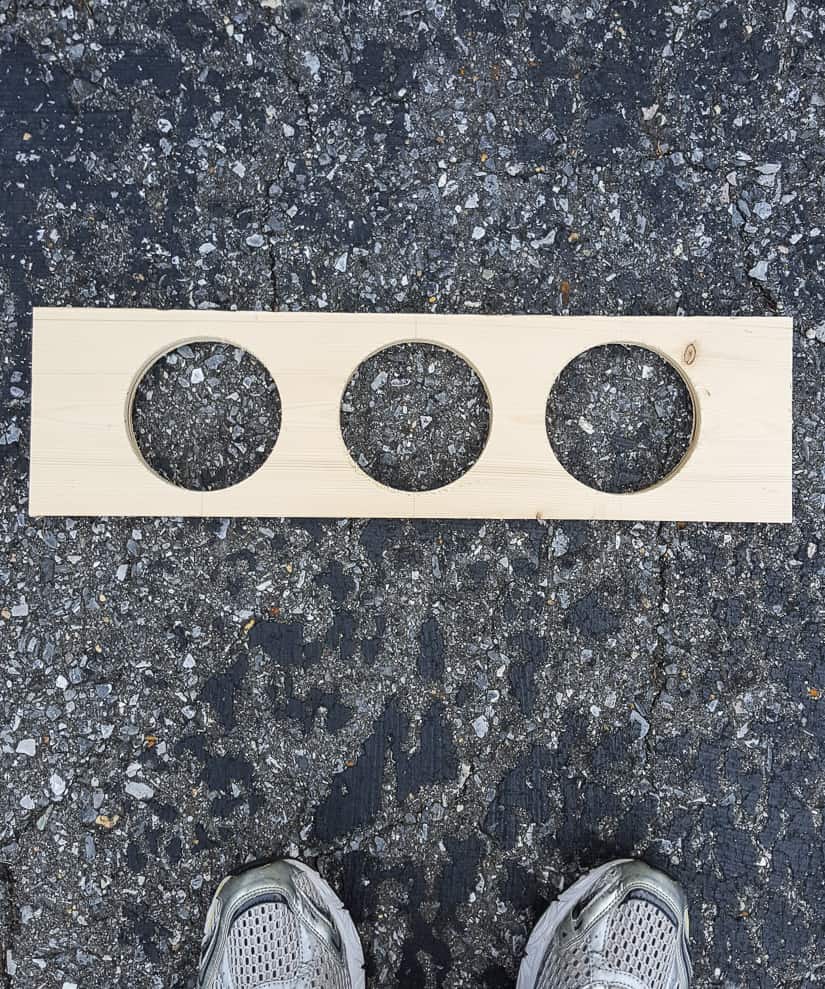
Step 4:
Once you’ve cut the holes, use your sanding to give the entire piece a good buffing. Then use your fine-grit sandpaper to smooth out the inside of each circle, as well as the edges of the shelf.
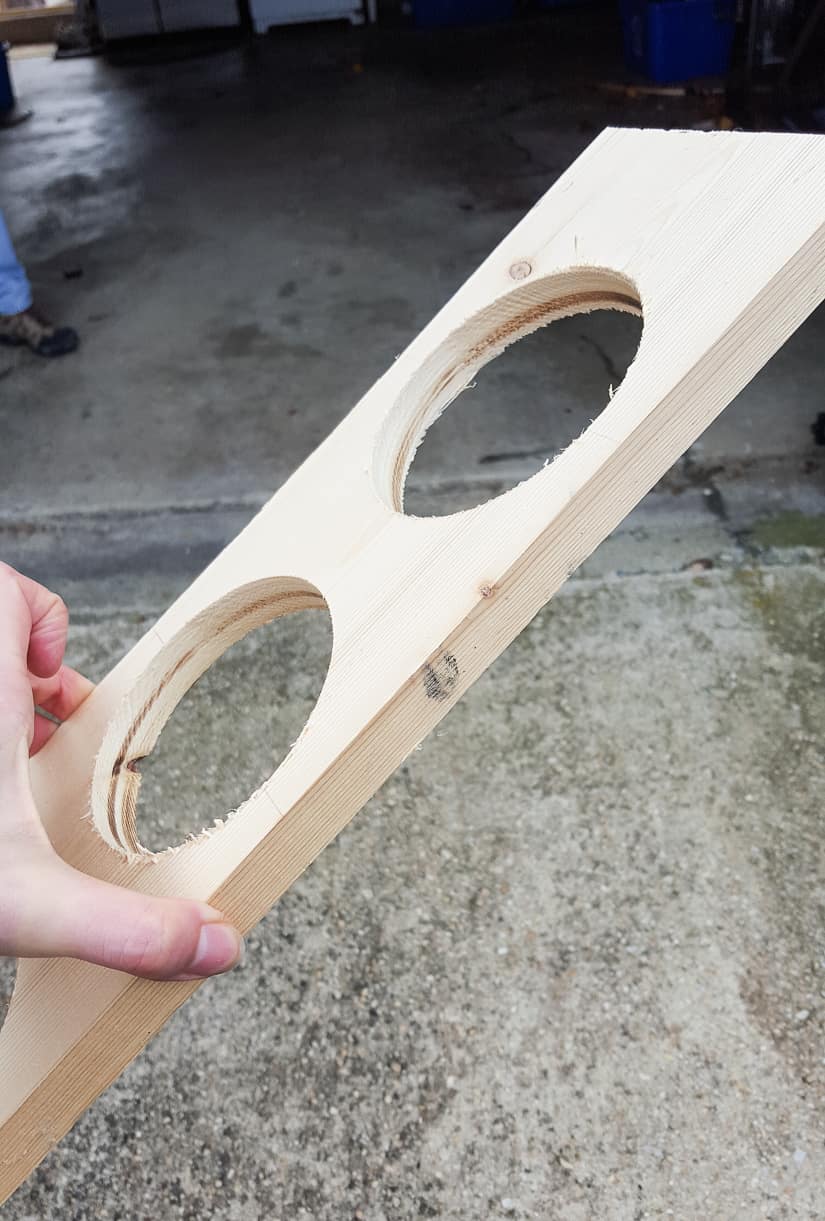
Step 5:
Stain the shelf and apply a finish coat just as you would any other staining project (read more about how to stain wood here). I used a dark stain because I thought the contrast with ivory-colored pots and dark soil would look nice.
Here it is with two coats of stain (left) and then three coats of poly (right).
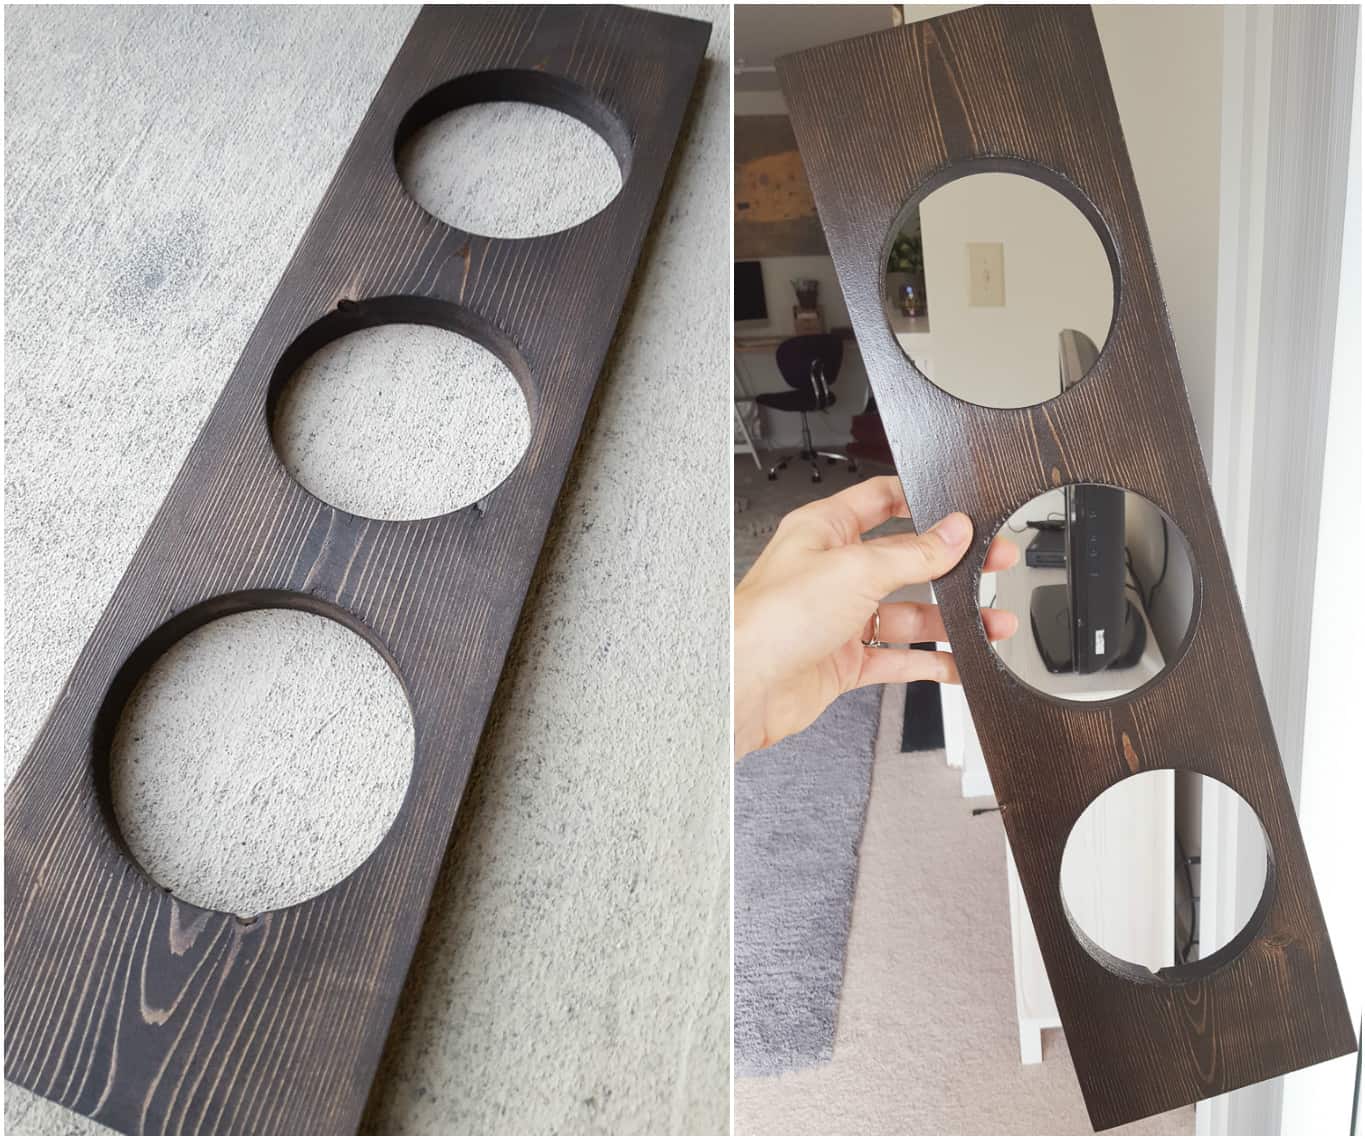
Step 4:
Attach your shelf brackets to your shelf and hang it on the wall. Pop your pots in. Viola!
Drainage
Now, you probably see the saucers on the bottom of each pot and are wondering how they work as drainage. Drainage is really important because you don’t want water sitting in the bottom of your pots, rotting your roots (especially if you’re growing herbs).
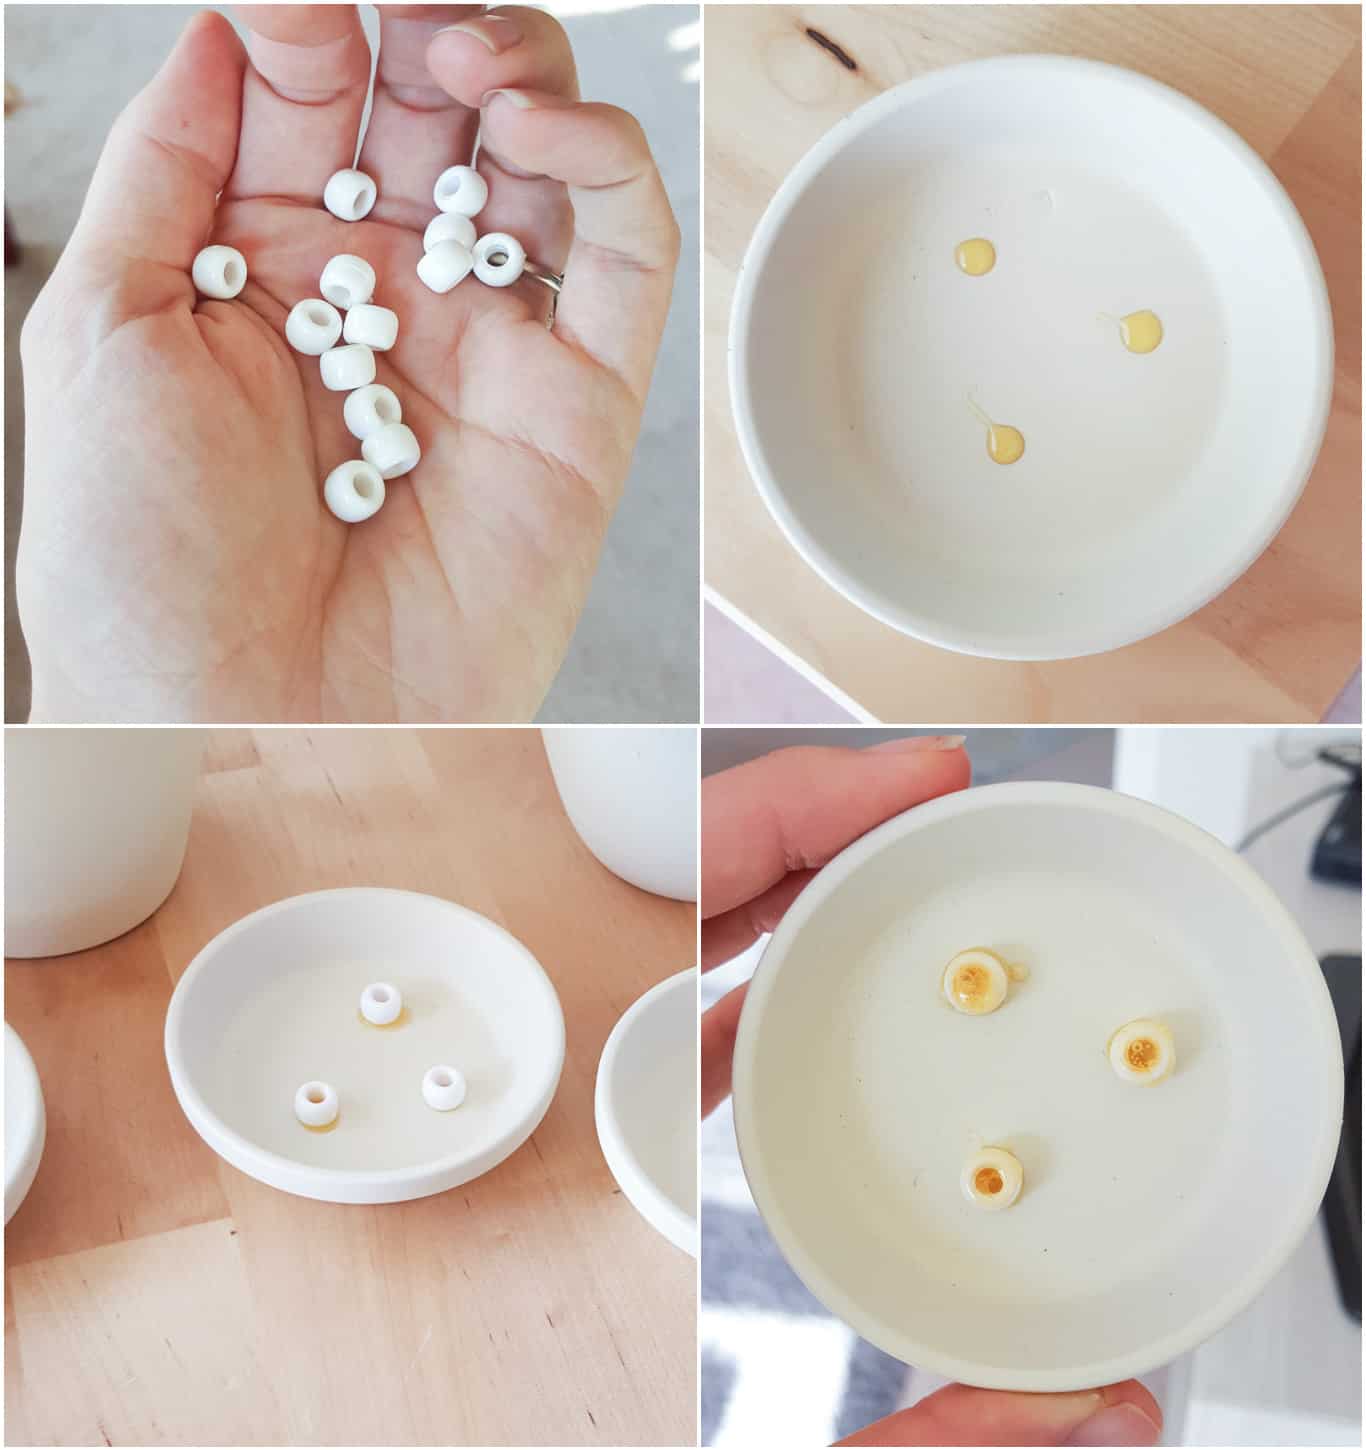
The drainage for this garden is really simple. First, you need to get small saucers; make sure they are big enough to hug your pot’s bottom but also small enough to fit through the shelf’s circular holes. I painted the pots and saucers to match, and then grabbed a few cheap plastic beads and Gorilla Glue. You can use any glue as long as it’s waterproof! If you use Gorilla Glue, don’t over do it. Gorilla Glue expands as it dries, so follow the directions on the bottle!
Squirt three dots of your glue into each saucer and press a bead on each. After that dries and has bonded completely, add a dab of glue on top of each bead. Then, press the pot down into the saucer. The idea here is to raise the pot off of the saucer to create an area for a bit of drainage. I chose to use beads because they are super cheap.
This option is great because you can always take the plant out of the shelf to dump any excess water from the bottom. Here’s how the drainage looks finished:
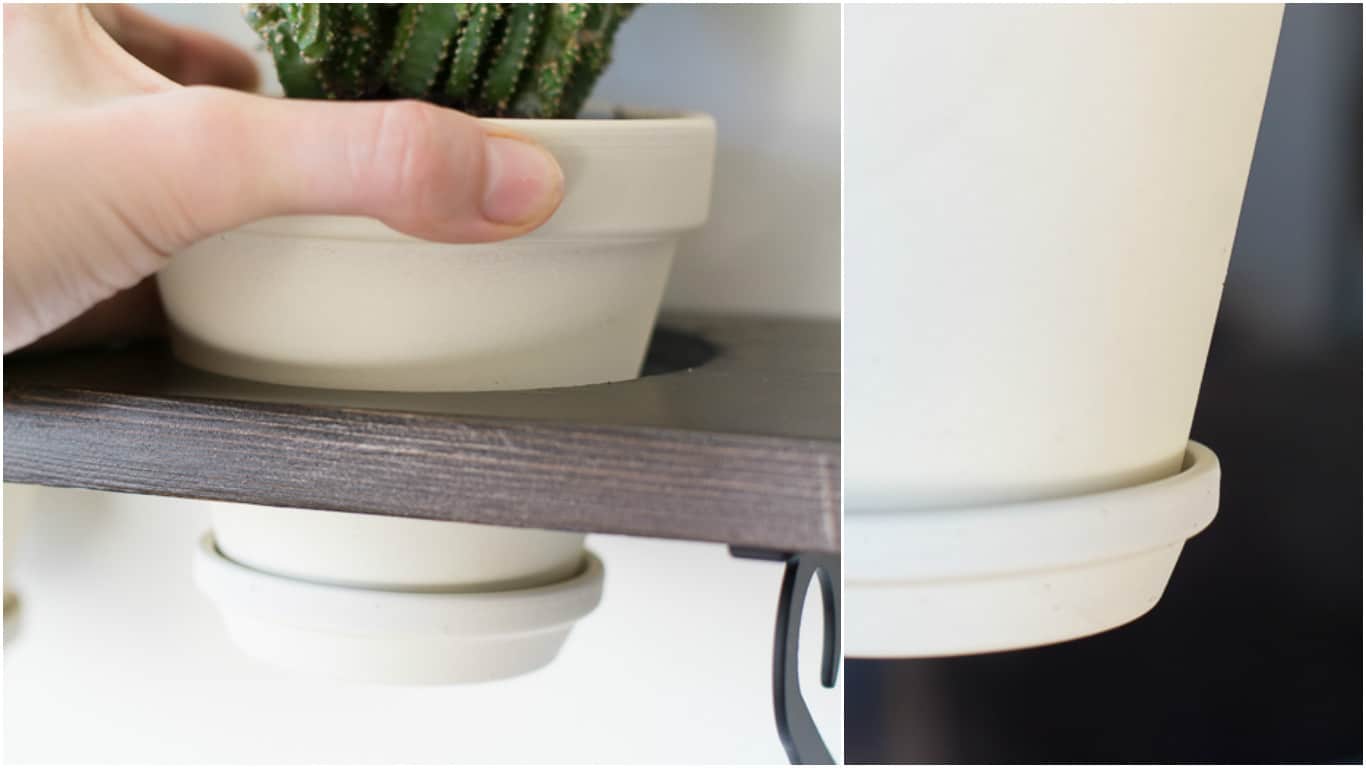
If you’re looking for an indoor garden option that is mounted, but isn’t just a few pots sitting on a shelf, this DIY hanging succulent garden is a great option. I love how it looks and am really happy to have it as an addition to the room!
How do you like to display your plants? Tell us in the comments below or on Twitter @Redfin.


 United States
 Canada