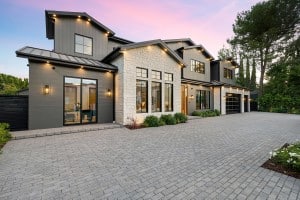
Are you ready to create your very own DIY shed without breaking the bank? Whether you’re in sunny Orlando, FL, dealing with the winds in Oklahoma City, OK, or facing the seasons in Rochester, NY, this step-by-step guide is here to help you construct a shed that perfectly suits your needs and location. We’ve got you covered with various shed models, ensuring your build is a success, no matter where you are, while fitting your lifestyle.
How to build a DIY shed on a budget
From planning and design to installing doors and windows, here are the essential elements to ensure a successful and cost-effective shed-building journey.
1. Planning and design
Proper planning and design are crucial when building a DIY shed on a budget. Start by assessing your specific needs for the shed, whether it’s extra storage space, a workshop, or a place to pursue hobbies. By clearly defining its purpose, you can determine the ideal size and layout to minimize unnecessary expenses. Sketch out the shed’s design, considering practical aspects like door and window placements to ensure adequate light and ventilation. It’s essential to plan for cost-effective construction methods, such as simple roof designs and standard dimensions, to reduce material waste and expenses.
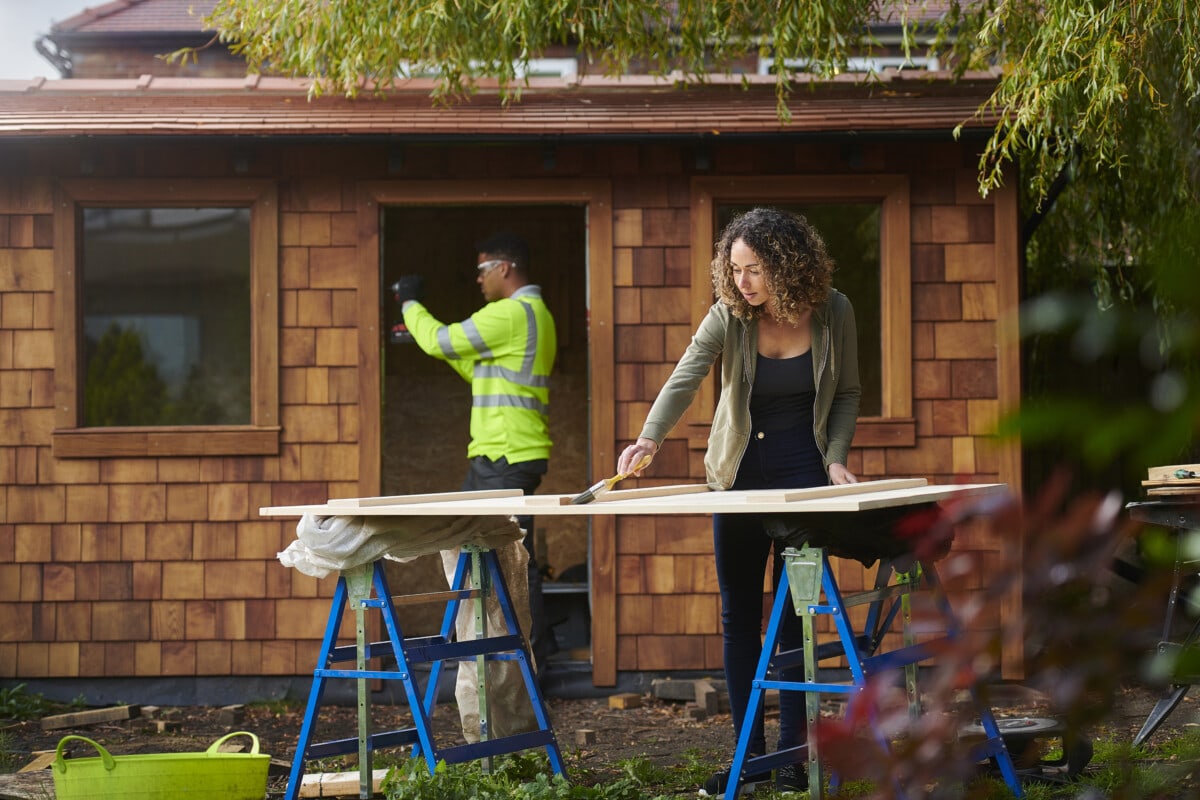
When planning cost-effective construction, opt for straightforward shed designs that don’t require complex angles or special tools. A rectangular or square shape with a single-pitched roof is not only easier to build but also more budget-friendly. Moreover, think about incorporating salvaged materials like old doors, windows, or reclaimed lumber into your design. Reusing materials can significantly cut costs while adding a unique touch to your shed.
For those looking for an even simpler and more budget-conscious option, DIY shed kits are worth considering. Shed kits typically include pre-cut and pre-measured materials, along with detailed instructions, making the construction process more accessible for beginners. These kits often come in various sizes and styles, allowing you to choose one that fits your needs and budget. While DIY shed kits may have a slightly higher upfront cost, they can save you time and labor, ultimately translating into potential cost savings.
“Crafting a lasting backyard shed isn’t just about materials; it’s about expertise and foresight,” suggests Oregon Backyard Buildings. “In collaboration with Old Hickory Sheds, we emphasize that a well-built shed using pressure-treated materials isn’t just storage—it’s an enduring asset. As tempting as DIY solutions might be, they often come with unforeseen challenges and expenses. Leveraging professional insight not only guarantees compliance with Eugene’s local building regulations but also ensures a structure that aesthetically complements and economically benefits your property for a lifetime.”
Additional Tip: Before purchasing any materials or starting construction, check with local authorities about building permits and regulations. Compliance with local codes is essential to avoid potential fines or setbacks during the construction process.
Courtesy of Oregon Backyard Buildings
2. Acquiring materials
Consider using pressure-treated lumber, which is durable and resistant to decay, at a lower price point than premium lumber. Reclaimed or salvaged materials can be excellent options for siding, roofing, and finishing touches, adding character to your shed while reducing expenses. Explore local classifieds, online marketplaces, or salvage yards to find discounted or secondhand building supplies. Additionally, reaching out to friends, family, or local community groups might lead you to unused materials they’re willing to part with. Being resourceful in sourcing materials can significantly contribute to cost savings.
Here is a checklist of basic tools needed for shed construction:
- Measuring tape and level for precise measurements
- Circular saw or hand saw for cutting lumber
- Power drill with various bits for drilling holes and driving screws
- Hammer and nails for traditional fastening
- Screwdriver for assembling components
- Safety equipment (gloves, safety glasses, ear protection) for protection during construction
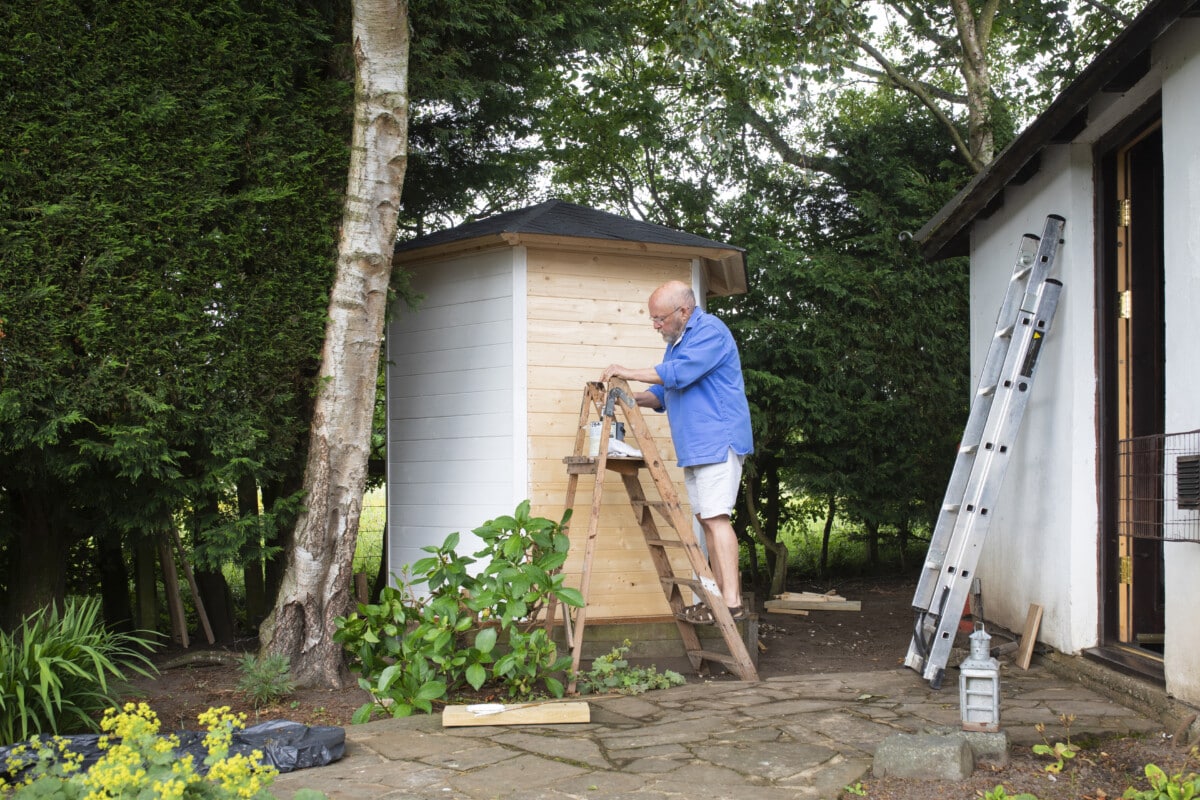
- Ladder for reaching higher areas during the build
- Carpenter’s square for ensuring accurate angles
By having these essential tools on hand, you’ll be well-equipped to handle the construction efficiently and avoid costly delays or trips to the hardware store for missing items.
3. Preparing the site
Begin by selecting a level area with good drainage to prevent water accumulation around the shed. Clear the site of any debris, rocks, or vegetation that may interfere with construction. If the ground is uneven, consider using a shovel or a rented plate compactor to level the surface. Installing a base or foundation is essential for elevating the shed above the ground to protect it from moisture. For budget-friendly options, consider using a gravel or concrete block base, which requires less material and labor compared to a full concrete slab. Make sure to follow local building codes and regulations regarding setbacks and property lines.
Before construction, it’s a good idea to check the local utility lines and mark their location to avoid accidental damage during digging. Additionally, consider adding a layer of landscaping fabric beneath the foundation to prevent weed growth and improve drainage. If the site is susceptible to heavy rainfall or flooding, you might also consider building a raised platform or using pressure-treated lumber for the foundation to protect the shed from moisture. Proper site preparation will not only provide a stable base for the shed, but also prevent potential problems and costly repairs in the future.
4. Building the foundation
Depending on your budget and site conditions, there are several cost-effective options available. One of the simplest and budget-friendly choices is using concrete blocks or pressure-treated lumber as piers, which elevate the shed off the ground and prevent direct contact with soil and moisture. Another budget-friendly option is a gravel foundation, consisting of compacted gravel or crushed stone, which provides good drainage and stability. Follow the shed’s design and local building codes to determine the number and placement of piers or gravel pads. Once the foundation is in place, double-check its levelness and stability before proceeding to the next steps.
Consider adding cross-bracing or additional support beams to enhance the stability of the foundation, especially if your area experiences high winds or seismic activity. When using concrete blocks as piers, ensure they are level and evenly spaced to evenly distribute the shed’s weight. For gravel foundations, it’s crucial to create a stable and well-compacted base to prevent sinking or shifting over time.
5. Constructing the frame
The frame is the backbone of your shed, providing structural support and determining the shed’s overall strength. Use pressure-treated lumber or other cost-effective materials for framing components, such as joists, studs, and beams. The frame should follow the shed’s design and dimensions accurately, and all connections must be secure. Precisely cut the lumber according to your measurements and join the components using nails, screws, or appropriate hardware. Ensure the frame is square and level to avoid any structural issues down the line.
If you’re new to carpentry, take extra care when measuring and cutting the lumber to ensure accurate dimensions. Utilize a carpenter’s square to check for right angles, and consider using diagonal measurements to verify the frame’s squareness. Additionally, using galvanized or weather-resistant fasteners will enhance the frame’s durability and protect it from rust or corrosion.
6. Installing roofing and siding
When it comes to roofing and siding options for a budget-friendly shed, consider materials that offer durability without breaking the bank. Asphalt shingles are a cost-effective roofing choice, providing adequate protection against the elements. Metal roofing is another affordable option that offers longevity and easy installation. For siding, T1-11 plywood or oriented strand board (OSB) are economical choices that can be painted or stained for added protection and aesthetics. Alternatively, consider using salvaged materials or repurposed wood to create a rustic and budget-friendly exterior. Properly install the roofing and siding, paying attention to weather-proofing and sealing to ensure the shed remains dry and resistant to moisture.
To maximize cost savings, consider using a combination of new and salvaged materials for roofing and siding. Check local salvage yards or building material recycling centers for discounted or reclaimed materials that can be suitable for your shed. Additionally, apply weather-resistant barriers like roofing felt or house wrap beneath the roofing and siding to further protect the shed from moisture and drafts.
7. Adding doors and windows
Consider cost-effective options for doors, such as pre-hung exterior doors or repurposed doors from other projects. For windows, single-pane or salvaged windows can be more budget-friendly than high-end, energy-efficient models. Install weather stripping and proper sealing around doors and windows to minimize air leakage and improve energy efficiency. Additionally, consider positioning the doors and windows strategically to maximize natural light and ventilation within the shed.
If using salvaged doors or windows, ensure they are in good condition and provide adequate security and insulation for the shed. Applying a fresh coat of paint or stain can revitalize their appearance and extend their lifespan. For added security, consider installing simple and budget-friendly locking mechanisms or latches on doors and windows.
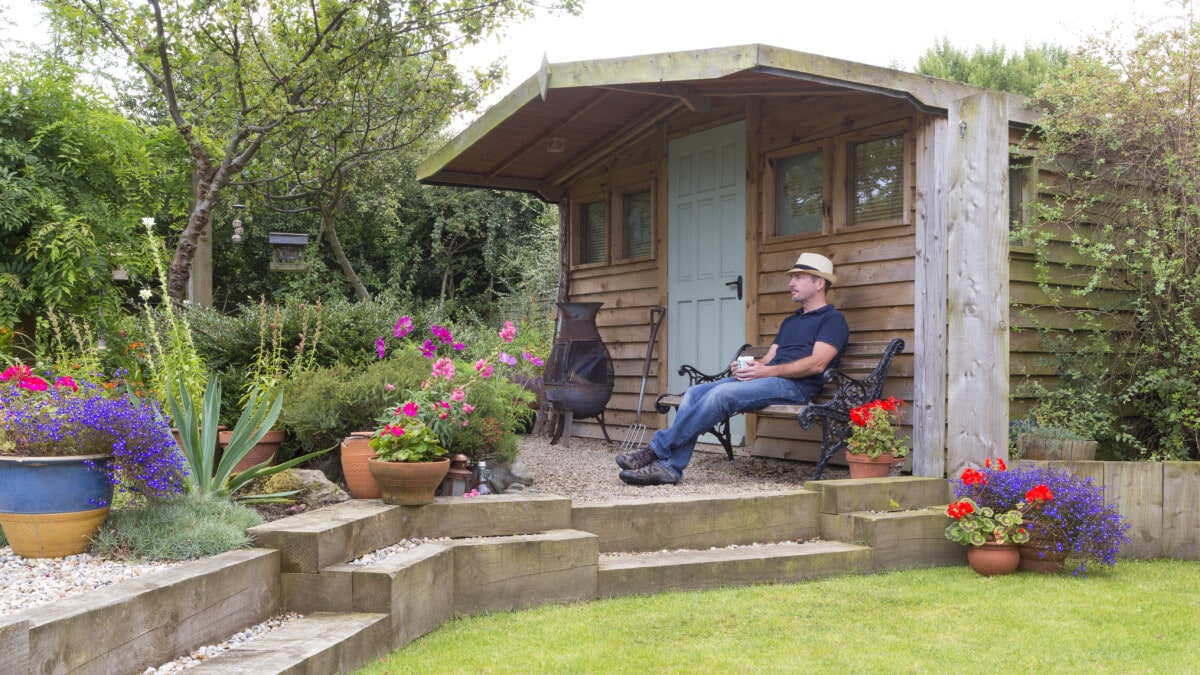
8. Finishing touches and interior
Install trim and moldings to cover any exposed edges and add a polished look. Apply a weather-resistant paint or stain to protect the exterior from the elements and prevent premature deterioration. Consider using leftover or salvaged materials for interior finishes, such as reclaimed wood for shelving or repurposed cabinets for storage. Organize the interior to maximize space and functionality, adding hooks, pegboards, or wall-mounted racks to keep tools and equipment neatly stored. Adding proper lighting, either through natural light from windows or affordable LED lighting fixtures, ensures a well-lit and functional workspace.
To further save on costs, explore creative DIY solutions for shelving and storage. Utilize old crates, pallets, or cinder blocks to create custom storage units. Additionally, consider using recycled materials or inexpensive alternatives for flooring, such as gravel or rubber mats, to create a comfortable and budget-friendly surface.
9. Safety and security
Regularly inspect the shed for any structural issues, such as loose nails or rotting wood, and address them promptly to prevent further damage. If your area experiences extreme weather, consider adding hurricane straps or anchors to reinforce the shed’s stability. Install a budget-friendly lock or latch on doors and windows to deter potential intruders and safeguard your belongings. In regions prone to pests, use weather stripping and sealant to close any gaps and prevent entry.
Incorporate additional safety measures such as smoke alarms or fire extinguishers, especially if you plan to use the shed for activities involving heat or flammable materials. If you have electrical outlets or wiring in the shed, ensure they are installed correctly and up to code to prevent potential fire hazards.
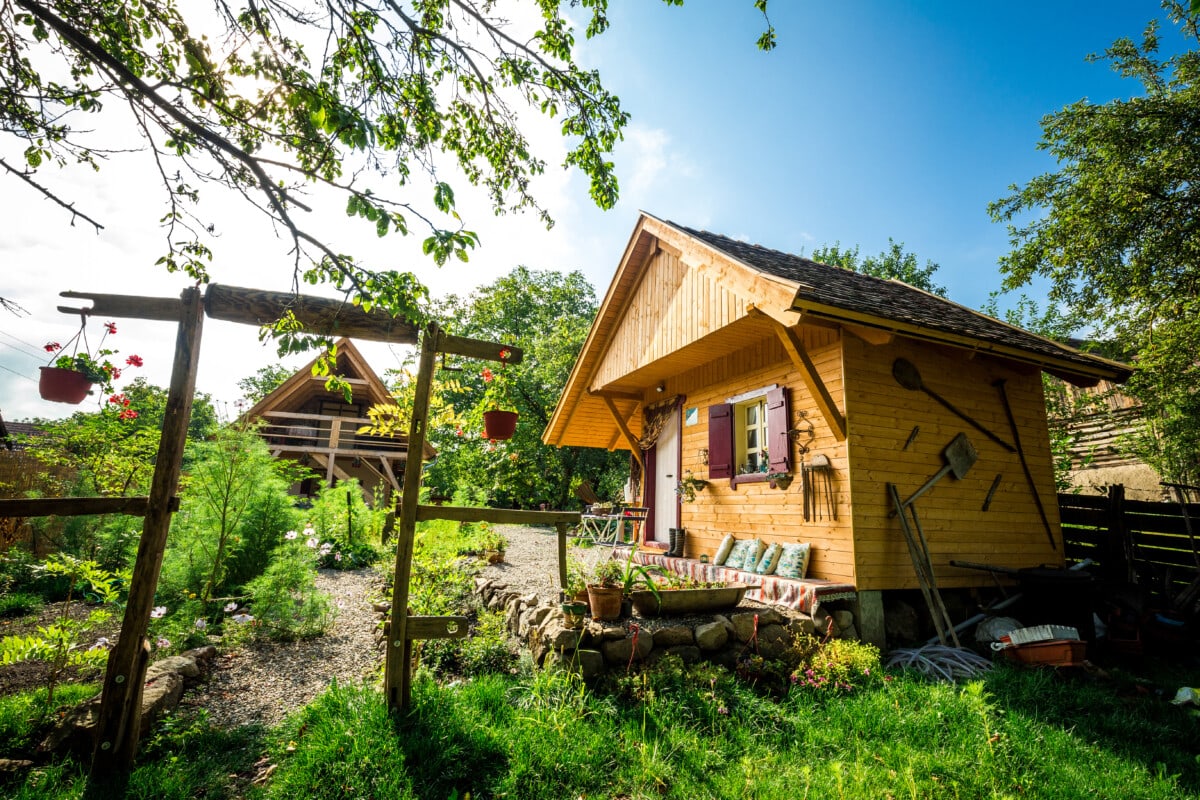
Types of sheds
Here are a few examples of the different types of sheds and their purposes.
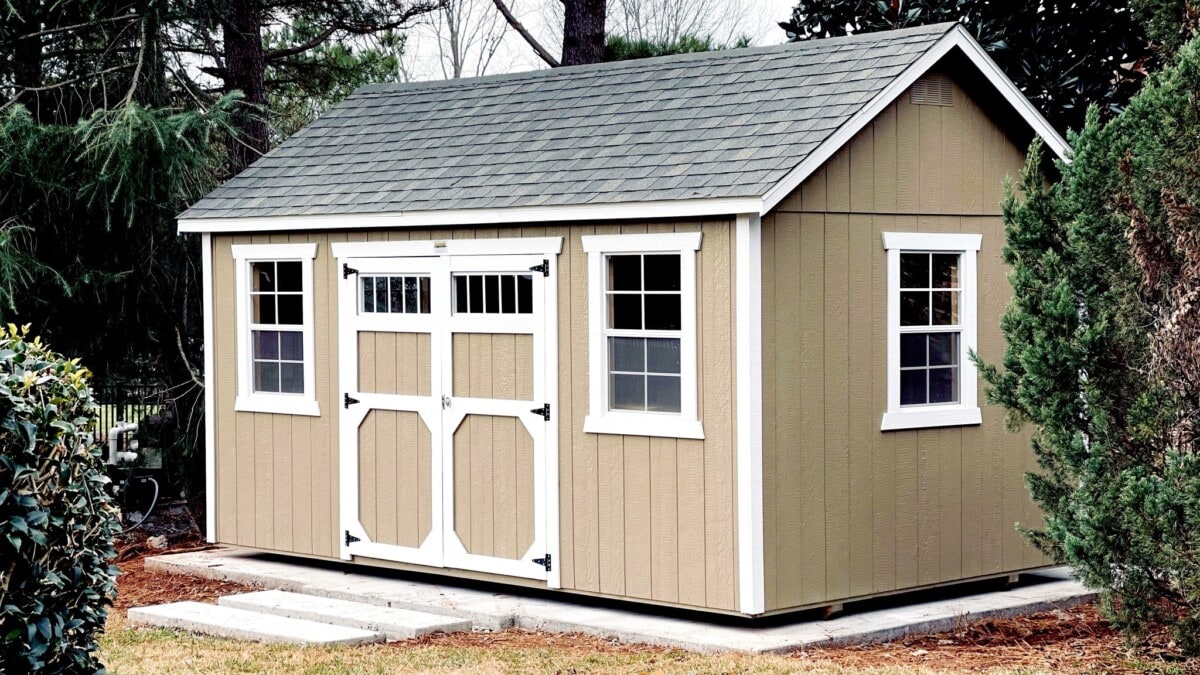
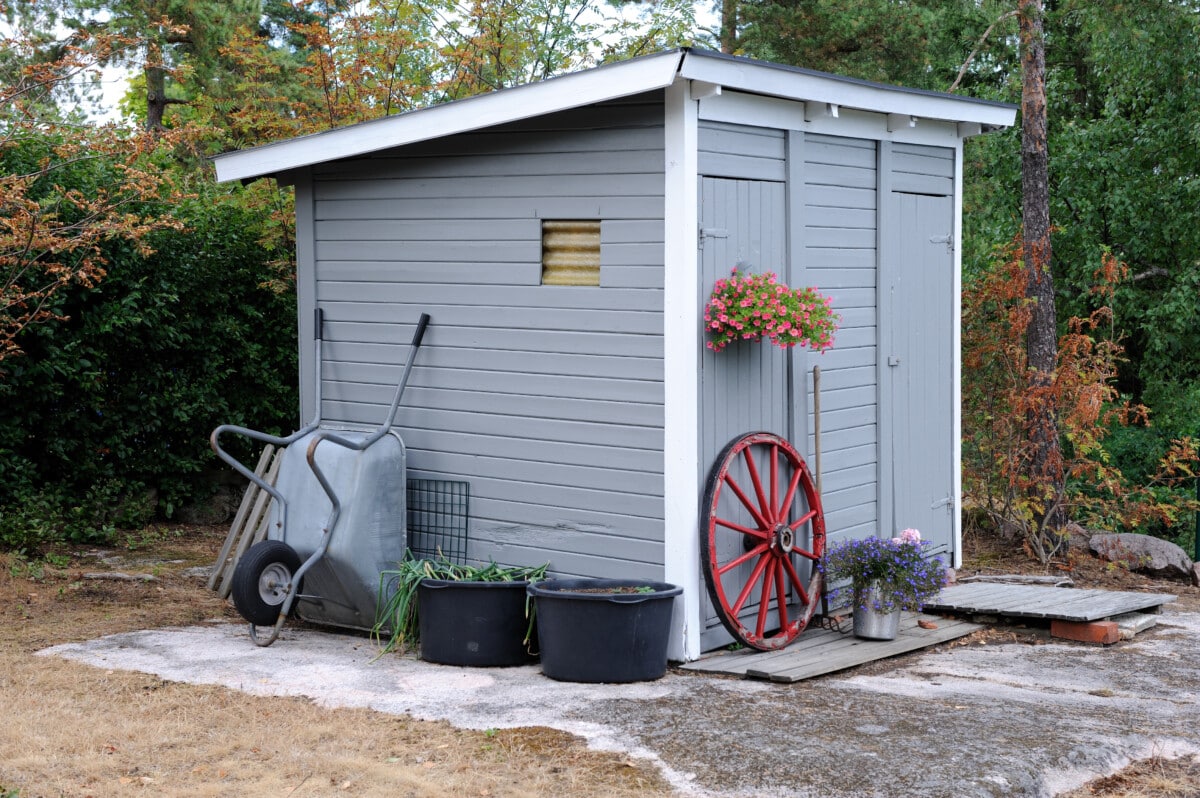
1. Storage shed
The primary function of a storage shed is to provide ample space for storing various items, such as gardening tools, lawn equipment, bicycles, and seasonal decorations. Storage sheds typically have a simple design with single or double doors for easy access. They may include shelving, hooks, or pegboards for organizing and maximizing storage capacity.
2. Garden shed
A garden shed serves as a dedicated space for gardening activities, such as potting plants, storing gardening tools, and housing supplies like soil and fertilizers. Garden sheds often have workbenches or planting tables to facilitate potting and transplanting. They may also include windows or skylights to provide natural light for gardening tasks.
3. Workshop shed
Workshop sheds are designed as functional spaces for DIY projects, woodworking, or hobbies that require a dedicated workspace. Workshop sheds have sturdy workbenches or workstations with ample storage for tools and materials. They may have multiple electrical outlets and good lighting to support various projects.
Courtesy of SolidBuild
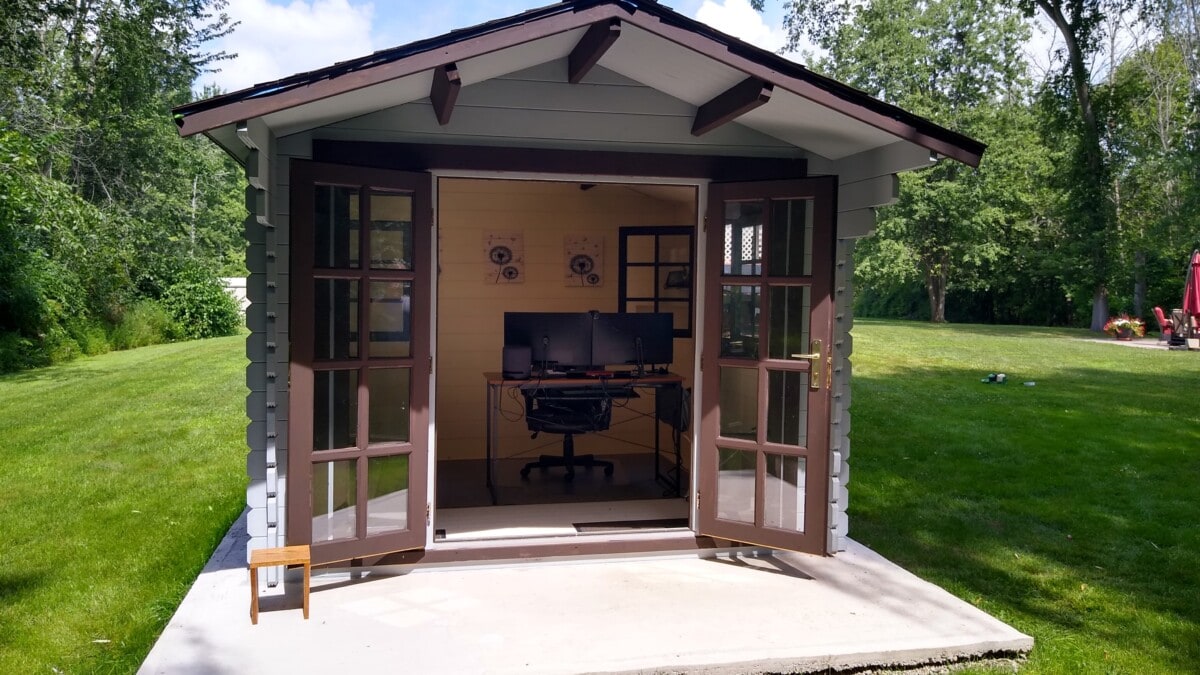
4. Home office shed
Home office sheds provide a quiet and separate workspace away from the distractions of the main house, making them ideal for remote work or personal projects. Home office sheds are insulated and climate-controlled, with windows for natural light and ventilation. They often have space for a desk, chair, storage, and electrical outlets for electronic devices.
“A customer who’s a real estate agent has called to share their feedback after putting one of our DIY prefab sheds in the backyard as a home office. Ever since moving into the new office shed, they’ve been recommending their clients to instead look for homes with room for a cute shed in the backyard rather than an additional bedroom when the main motivation is a guest bedroom and/or home office. Not only is it a lot more economical to build a nice shed, but it also increases the appeal when selling the property,” suggests SolidBuild.
“When selecting materials for the shed that will be used for home office, she shed or another non-utilitarian purpose, make sure the wood products do not contain toxic chemicals. Regular plywood or OSB sheets often contain chemicals that are not meant for “Residential” use without additional layers of other siding and will be off-gassing, especially in higher temperatures. Going with solid wood products, or reclaimed wood that has had time to weather, is safer for your health and a more environmentally friendly option.”
Courtesy of SolidBuild
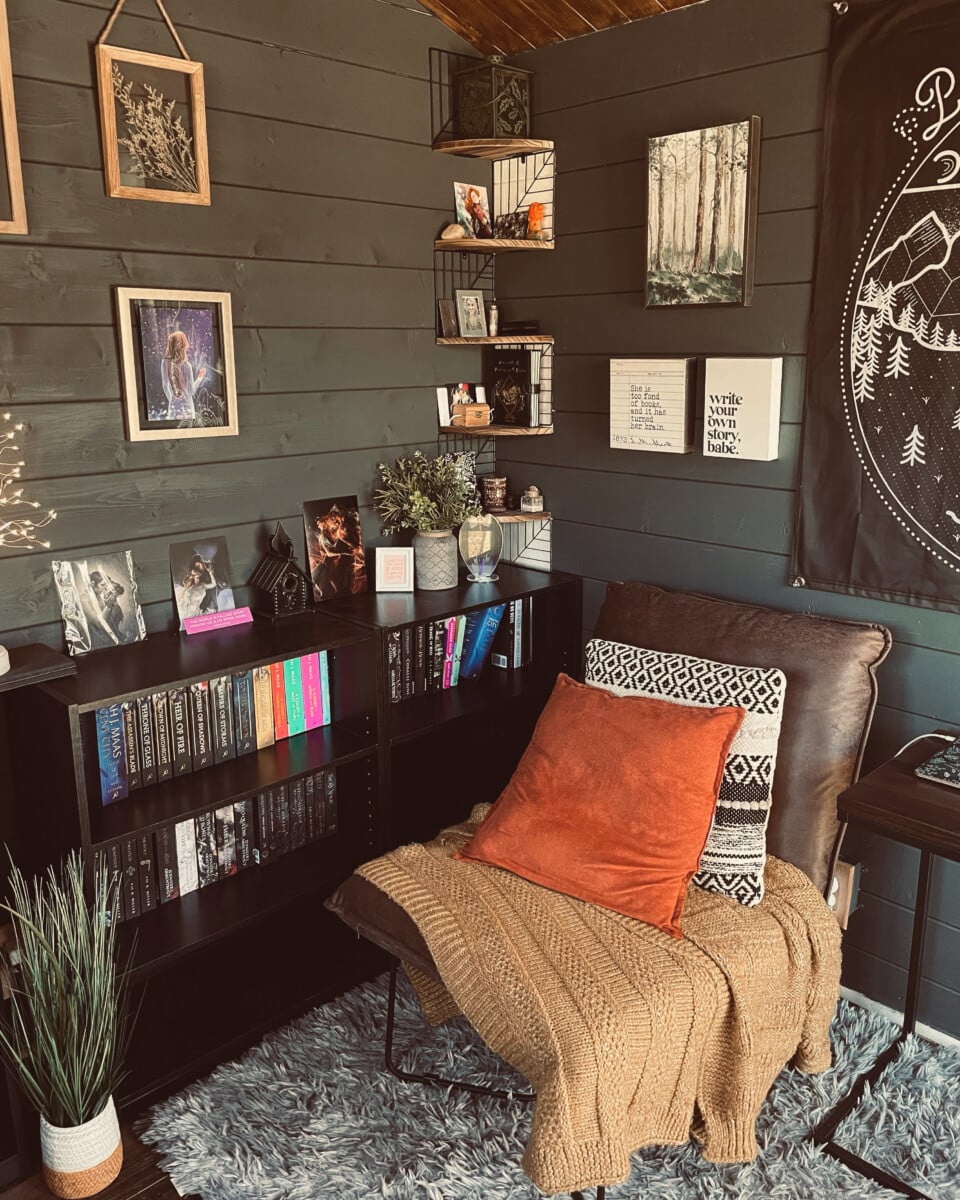
5. She shed
A she shed is a retreat space designed for relaxation, hobbies, or personal escape, providing a peaceful and private environment. She sheds are customizable and can include cozy seating, bookshelves, art supplies, or a mini-fridge for refreshments. The decor and furnishings are tailored to the owner’s preferences and interests.