Whether you’re in the heart of Orlando, Florida, or the sprawling landscape of Oklahoma City, the dream of renovating or updating your property is nearly universal. And a project like building a detached garage combines practicality with creativity, providing space for your vehicles, storage, and hobbies. However, beginning this project requires careful planning and execution to ensure that your detached garage not only meets your needs but also adheres to local regulations and stands the test of time.
In this Redfin article, we’ll take you through each step of the process and what to expect, from researching and planning to adding the finishing touches. Whether you’re aiming for a small workshop or a spacious multi-bay garage, this guide will serve as your roadmap to success.

1. Research and planning
Local building codes and zoning regulations: Research your local municipality’s building codes and zoning regulations. These guidelines will dictate aspects such as setback requirements (how far the garage must be from property lines), maximum height, size restrictions, and any necessary permits. For example, some areas might require a minimum distance of five feet from property lines.
Permits: Obtain the necessary permits before beginning construction. Common permits might include building permits, zoning permits, and possibly environmental permits if your area has specific regulations regarding construction on the land.
Design considerations: Think about the purpose of your garage. Will it simply be for parking vehicles, or will you need additional space for storage, a workshop, or other uses? Consider the number of bays, ceiling height, and any unique features you’d like to incorporate.
2. Design and budget
Layout and dimensions: Sketch out the layout of your garage, including the placement of doors, windows, and potential interior walls. Decide on the dimensions based on the space available and your needs. For example, a two-car garage typically measures around 20 feet by 20 feet, but you might need more space if you plan to include a workspace.
Roofing and siding choices: Choose roofing materials and siding options that complement your home’s design and suit your climate. Asphalt shingles, metal roofing, and cedar shakes are some common roofing choices, while options for siding include vinyl, wood, and fiber cement.
Cost estimates: Research the cost of construction materials, labor, permits, and other potential expenses. Obtain quotes from contractors for the work if you plan to hire professionals. Be prepared for unexpected costs that might arise during construction.
3. Site preparation
Choosing the location: Select a location on your property that is both practical and adheres to local regulations. Consider factors such as ease of access, distance from the main house, and terrain. For example, if your property has a slope, you might need to consider leveling the area before construction.
Clearing the area: Remove any vegetation, debris, or obstacles from the chosen construction site. This might involve clearing shrubs, trees, rocks, or other objects that could impede construction equipment or foundation work.
Excavation and grading: If your chosen site isn’t level, you’ll need to excavate and grade the area to create a flat and stable foundation. This might involve moving soil, adding fill dirt, and compacting the ground to ensure a solid base for construction.
Utilities and drainage: Check the location of underground utilities (water, gas, electrical lines) before digging. Ensure proper drainage by grading the area away from the garage site to prevent water accumulation around the structure.
4. Foundation and footings
Foundation Type: Choose the appropriate foundation type based on your garage’s design, local climate, and soil conditions. Common options include:
- Slab-on-grade: A concrete slab poured directly on the ground surface. It’s cost-effective but lacks a crawl space or basement.
- Crawl space: Elevating the garage slightly with a crawl space underneath for ventilation and access to utilities.
- Full basement: Providing additional space and potential for utilities but is more complex and expensive.
- Excavation and footings: Excavate the area according to the foundation type chosen. Pour concrete footings that will support the weight of the garage walls and distribute it evenly across the ground.
- Concrete slab: If opting for a slab foundation, pour and finish the concrete to create a level surface. Ensure proper curing to prevent cracking.

5. Framing and structural work
Wall framing: Use the appropriate framing materials (wood or steel) to build the garage’s walls. Follow building codes and engineering specifications to ensure structural integrity. Place framing members at the correct intervals to provide stability and support.
Roof trusses or rafters: Depending on your design, install roof trusses or rafters to form the roof’s framework. These components should be accurately positioned and securely fastened.
Sheathing: Apply sheathing (plywood or OSB panels) to the exterior walls and roof to create a solid surface for siding and roofing materials. This also contributes to structural stability.
Bracing and reinforcements: Install diagonal bracing and reinforcements as needed to prevent sway or structural weaknesses. This is particularly important in areas prone to high winds or seismic activity.
6. Roofing and siding
Roofing material: Install the chosen roofing material, considering factors such as durability, aesthetics, and weather resistance. Common options include asphalt shingles, metal panels, clay tiles, or wooden shingles.
Weatherproofing: Ensure that the roofing material is properly installed, and all seams and edges are sealed to prevent leaks. Install appropriate underlayment, flashings, and ventilation to promote moisture control and prevent condensation buildup.
Siding installation: Apply the selected siding material to the exterior walls. Follow manufacturer instructions for installation and maintain proper clearances to avoid moisture-related issues. Different materials may require specific installation techniques, such as nailing patterns and overlapping.
Insulation: While not part of the traditional roofing and siding process, this is a good time to consider adding insulation to the walls and roof if it wasn’t addressed during framing. Proper insulation helps regulate temperature and improve energy efficiency.
By carefully executing these steps, you’ll create the foundational structure of your detached garage and establish the exterior shell. These steps are crucial for ensuring the stability, weather resistance, and overall functionality of your garage.
7. Electrical and plumbing
Electrical planning: Determine the garage’s electrical needs based on its intended use. Plan the placement of outlets, switches, and lighting fixtures. Decide if you’ll need dedicated circuits for power tools or other equipment.
Wiring installation: Install electrical wiring according to local electrical codes. This involves running wires through walls and ceilings, connecting them to outlets and switches, and ensuring proper grounding. Hiring a licensed electrician is recommended for safety and compliance.
Electrical fixtures: Install light fixtures, outlets, and switches as per your electrical plan. Consider energy-efficient lighting options for both interior and exterior spaces.
Plumbing (if applicable): If your garage requires plumbing for a sink, bathroom, or other utilities, this is the stage to install the necessary plumbing lines, fixtures, and drainage systems.
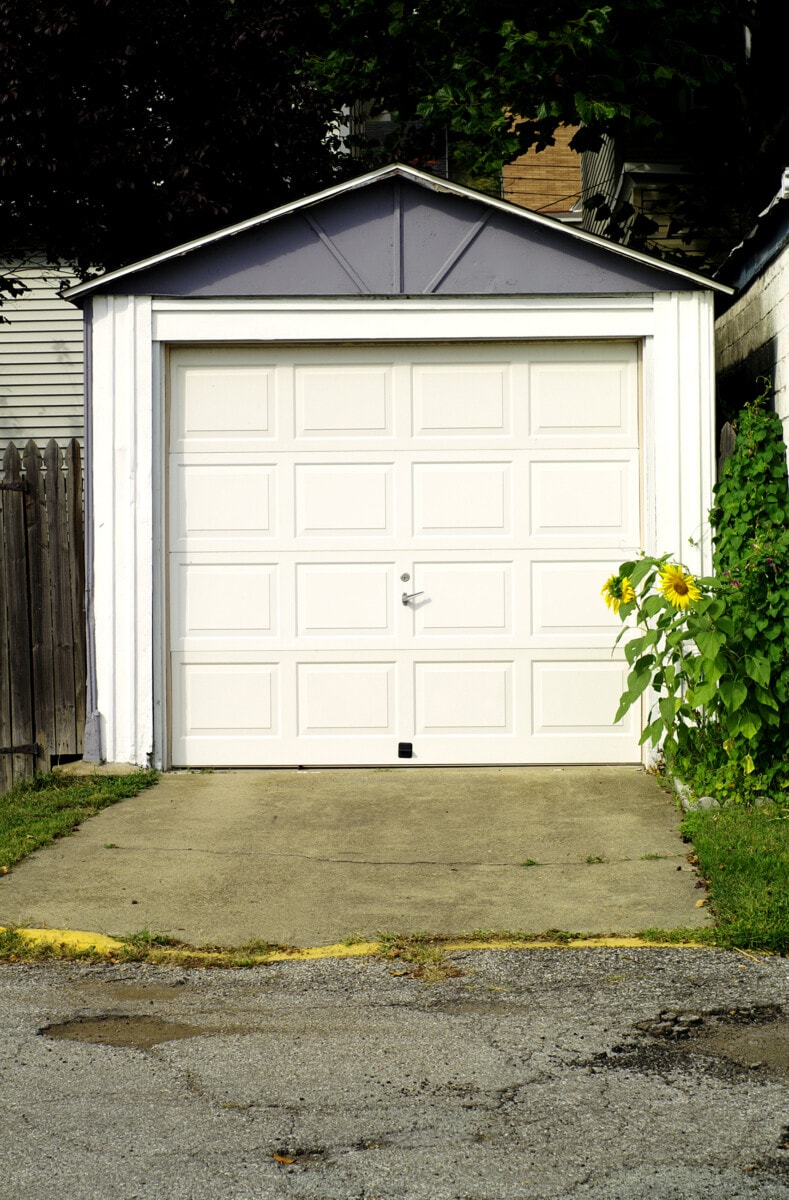
8. Doors and windows
Garage doors: Install the garage doors based on your design. Choose from single or double doors, sectional doors, or roll-up doors. Ensure proper installation and mechanisms for smooth operation.
Windows: Install windows to allow natural light into the garage. Choose window sizes and placements that enhance both aesthetics and functionality. Properly seal and weatherproof around windows to prevent leaks.
9. Interior finishing
Insulation (if not done earlier): If insulation wasn’t installed during framing, add it now. Proper insulation helps maintain a comfortable interior temperature and reduces noise transfer.
Drywall or paneling: Cover interior walls and ceilings with drywall or paneling, depending on your design preference. Proper installation and finishing techniques are crucial for a polished appearance.
Painting and finishing: Paint the interior surfaces to enhance the space’s aesthetics. Choose paint colors that complement the overall design and lighting of the garage.
Flooring: Choose and install the appropriate flooring material for your garage. Options include concrete, epoxy coatings, rubber mats, or even tiles. Consider durability and maintenance when making your choice.
10. Final inspections and touch-ups
Inspections: Schedule final inspections with local authorities to ensure that your garage complies with building codes and regulations. This may include structural, electrical, plumbing, and fire safety inspections.
Addressing inspection feedback: If inspectors identify any issues during the final inspection, address them promptly to ensure compliance. This might involve making corrections, adjustments, or improvements.
Landscaping and exterior: Complete any exterior work, such as landscaping, driveway installation, and exterior lighting. This enhances the overall look of your property and provides a welcoming environment.
Final touch-ups: Take care of any remaining cosmetic touch-ups, such as paint touch-ups, caulking, and garage cleaning. This ensures that your detached garage is ready for use and visually appealing.
By following these final steps, you’ll complete the construction of your detached garage and transform it from a construction site into a functional and aesthetically pleasing addition to your property.