Are you tired of outdated wallpaper ruining the aesthetic of your Los Angeles apartment or Tucson house? Don’t fret, with a little bit of elbow grease and some helpful tips, removing that pesky wallpaper can be a manageable DIY project.
If you’re looking to update the look of a room in your home, Redfin has got you covered. In this article, we’ll walk you through the step-by-step process of removing wallpaper, so you can create a fresh, new look in your space.
Step 1: Gather your tools
Removing wallpaper can be a daunting task, but having the right tools at your disposal can make the process much smoother. To start, gather all the necessary tools, which should include a wallpaper stripper solution, wallpaper scraper, stepladder, sponge, bucket, plastic sheeting or drop cloth, protective gear like gloves or goggles, and a mask. Make sure to have all of these items handy before beginning the removal process. Having the proper tools can not only save you time, but also ensure that the job is done effectively and with minimal mess or damage to your walls.
Step 2: Prepare the room
To get started, prepare the area by covering the floor and any furniture with plastic sheeting or a drop cloth. This will help protect your surfaces from any wallpaper paste or solution that may drip during the removal process. It’s also a good idea to remove any switch covers or outlet plates from the wall and use masking tape to cover any exposed electrical outlets.
Expert tip: According to The Trusty Handyman, a home improvement expert, preparing the area beforehand is crucial for a smooth and hassle-free wallpaper removal process. “Covering the floor and nearby furniture with plastic or drop cloths is a must to protect them from potential moisture and debris, making the cleanup process much easier,” he advises.
Step 3: Test a small section of the wallpaper
Testing the wallpaper before beginning the removal process can save you time and frustration. It’s important to know how difficult it will be to remove the wallpaper and what kind of adhesive was used before you start. This will help you determine the best method for removing the wallpaper and whether you need to apply more wallpaper stripper solution or hire a professional.
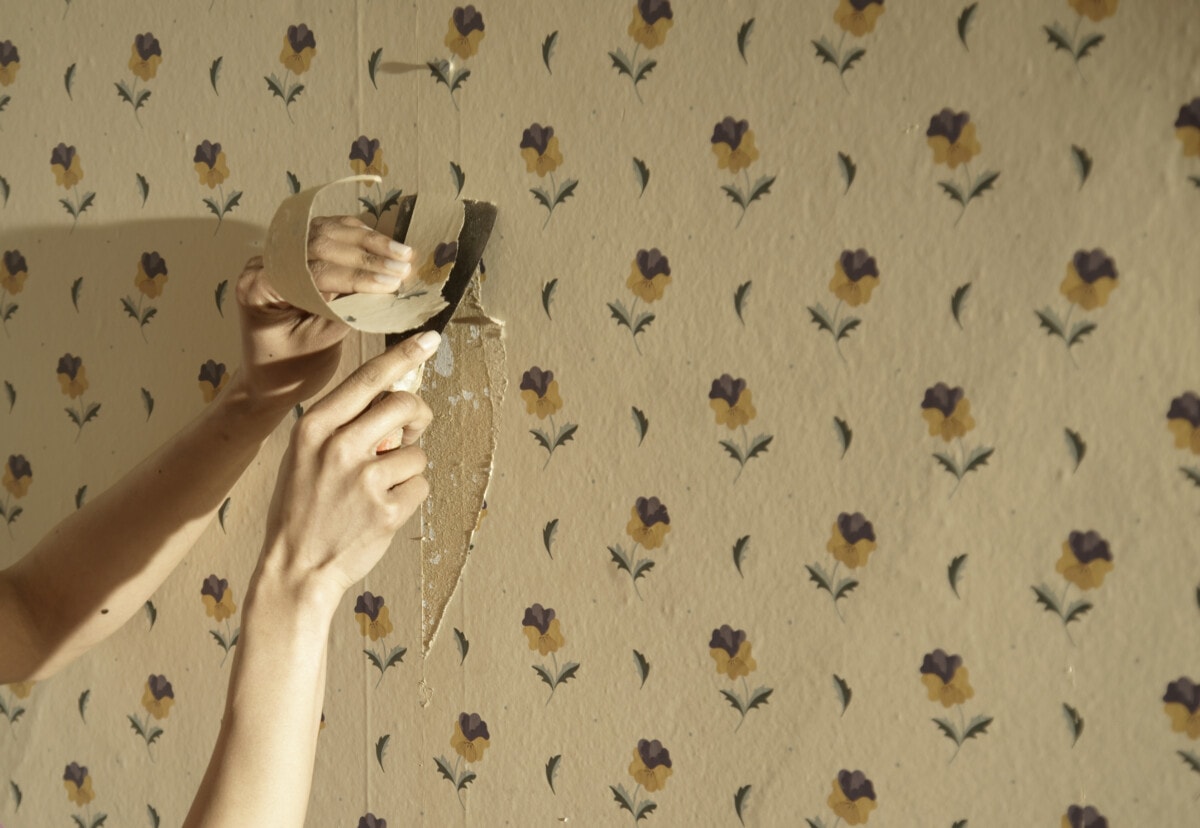
To test the wallpaper, start in an inconspicuous area, such as behind a piece of furniture or in a corner. Use a scraper to gently lift a corner of the wallpaper, being careful not to damage the wall or tear the wallpaper. If the wallpaper comes off easily, you can proceed with the removal process. However, if the wallpaper is difficult to remove or if it tears easily, you may need to apply more wallpaper stripper solution or use a different method to remove the wallpaper.
It’s important to note that the type of wallpaper and adhesive used can greatly impact how difficult it is to remove. Older wallpapers may have multiple layers of wallpaper, making it more difficult to remove, while newer wallpapers may be easier to remove. Additionally, certain adhesives can be more stubborn and require more effort to remove.
If you find that the wallpaper is difficult to remove, don’t be discouraged. Applying more wallpaper stripper solution and allowing it to soak for a longer period of time can often make the removal process easier. However, if you still encounter difficulties or are uncomfortable with the process, it may be best to hire a professional to remove the wallpaper for you.
Step 4: Apply the wallpaper stripper solution
After prepping the room and testing a small section, it’s time to apply the wallpaper stripper solution. Follow the manufacturer’s instructions for diluting the solution, and be sure to wear protective gloves, goggles, and a mask to avoid skin and eye irritation.
Using a sponge or spray bottle, apply the solution to the wallpaper, ensuring that you wet only as much as you can strip in 15 minutes. Allow the solution to penetrate the wallpaper for the recommended amount of time, which is usually around 15-20 minutes.
It’s essential to note that there are several methods to strip wallpaper, and each room may require a different approach. Dry stripping is the first method to try, but if it doesn’t work, you can move on to solvent or steam stripping.
For solvent stripping, lightly score the wallpaper and apply a mixture to loosen the adhesive. Homemade mixtures include hot water and fabric softener or hot water and white vinegar. Alternatively, store-bought solutions are available.
Steam stripping requires renting a wallpaper steamer that emits steam onto the wallpaper. Be sure to follow the instructions carefully and wet only as much as you can strip in 15 minutes.
Expert tip: Handyman service North Seattle Handyman says, “we highly recommend using a steamer to remove wallpaper. This method is not only fast and efficient, but also eliminates the need for any chemicals that may emit unpleasant odors. The steam will loosen the wallpaper adhesive, making it easier to remove, while also reducing the risk of damaging the wall surface. Using a steamer is a safe and effective way to remove wallpaper, without compromising the indoor air quality of your home.”
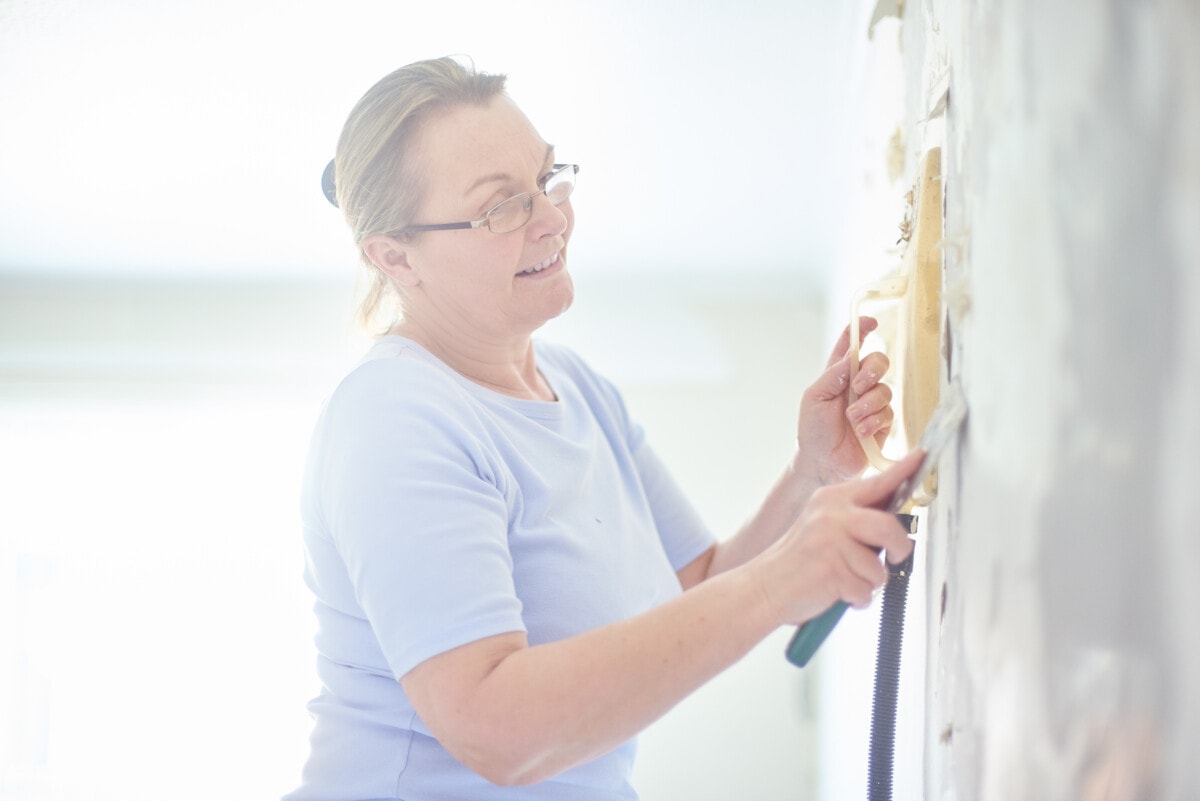
Step 5: Scrape off the wallpaper
Once the wallpaper has soaked for the recommended amount of time, it’s time to scrape it off the wall. Using a wallpaper scraper, start at the bottom of the wall and work your way up, gently lifting the wallpaper from the wall. Be careful not to gouge or damage the wall during the process.
If you encounter stubborn areas of wallpaper that won’t come off, reapply the wallpaper stripper solution and wait a few more minutes before scraping again. This extra soaking time will help to loosen the adhesive, making it easier to remove the wallpaper.
Be sure to keep your scraper sharp and change the blade as needed to avoid damaging the wall. As you scrape off the wallpaper, place it in a garbage bag or other container to dispose of it properly.
It’s important to note that some wallpapers have multiple layers, and you may need to repeat the soaking and scraping process for each layer. Additionally, some wallpaper adhesives may be particularly stubborn, requiring more than one application of the wallpaper stripper solution.
Step 6: Clean up
Cleaning up after removing wallpaper is an important final step to ensure a smooth and polished finish for your walls. Once you have removed all of the wallpaper, it’s essential to remove any remaining wallpaper paste or solution from the walls to create a clean surface for your new decor. Using a sponge and clean water, gently wash the walls and wipe away any excess paste or solution. Be sure to change the water frequently to avoid spreading residue across the walls.
After cleaning the walls, allow them to dry completely before painting or applying new wallpaper. This step is crucial because any remaining moisture on the walls can interfere with the new wallpaper or paint adherence to the wall. Use a fan or dehumidifier to speed up the drying process, if necessary. Once the walls are dry, you can move forward with your new decor and enjoy the updated look of your space.