Drywall is a fundamental component of modern interior construction, providing a smooth, clean surface for walls and ceilings. However, over time, it can suffer from wear and tear, leading to various types of damage. Learning how to spot and repair drywall damage is essential for maintaining the aesthetics and structural integrity of your home, whether you own a house in Columbus, OH, or renting out a home in Little Rock. In this Redfin article, we’ll explore common types of drywall damage and provide step-by-step guidance on how to fix them effectively.
Identifying common types of drywall damage
Before embarking on repairs, it is crucial to recognize the various types of drywall damage. Common issues include cracks, which are often caused by settling or fluctuations in temperature and humidity. Additionally, holes may result from accidental impacts or the removal of wall fixtures. Water damage can lead to stains, warping, and swelling due to leaks or floods. Moreover, sagging or bubbling can be caused by moisture infiltration or poor installation.
“When we have a client who wants their drywall to look like new, they tend not to have the time for a full inspection of every surface,” says Wesley Dixon, owner of Hillside Handyman. “The best way to inspect drywall or check repair work is to take a flashlight and place it directly against the wall. This will create a very critical light that will identify even the slightest imperfections that aren’t obvious.”
Assessing the extent of drywall damage
Once you’ve identified the type of damage, assess its extent. Small cracks and nail holes are relatively easy to fix, while larger holes or significant water damage may require more extensive repairs. Evaluating the scope of the damage will help you determine the appropriate repair method.
“Pay close attention to any visible cracks, holes, or water stains on the walls, as these are common indicators of damage,” says Diego Alvarez of Handyman Creative Solutions. “Homeowners can easily repair minor cracks by using joint compound, while larger holes may require a patch kit. Remember to sand and paint the repaired area for a seamless finish.”
Gathering the right tools and materials
Before you start repairing the damaged drywall, ensure you have the necessary tools and materials. Emmanuel Zuniga of Texas Drywall recommends having a putty knife or taping knife, a utility knife, and drywall joint compound on hand for any drywall repairs. Other tools you’ll need include drywall patching material or mesh tape, sandpaper, primer, paint that matches the existing wall color, a screwdriver, and a paintbrush or roller.
Address the underlying issue
Before attempting to repair damaged drywall, it’s important to first address the source of the damage. “Before repairing the damaged drywall, consult with a local expert to address the problem that is causing the drywall damage,” says Tyler Harden of Austin Painting and Cabinets. “If it’s from a leak, consult a local plumber to get the leak fixed. If it’s from the foundation shifting, consult a local foundation expert to get the foundation fixed. If you fix the damaged drywall without fixing the issue that is causing the drywall damage, it will only cause the damage to come back.”
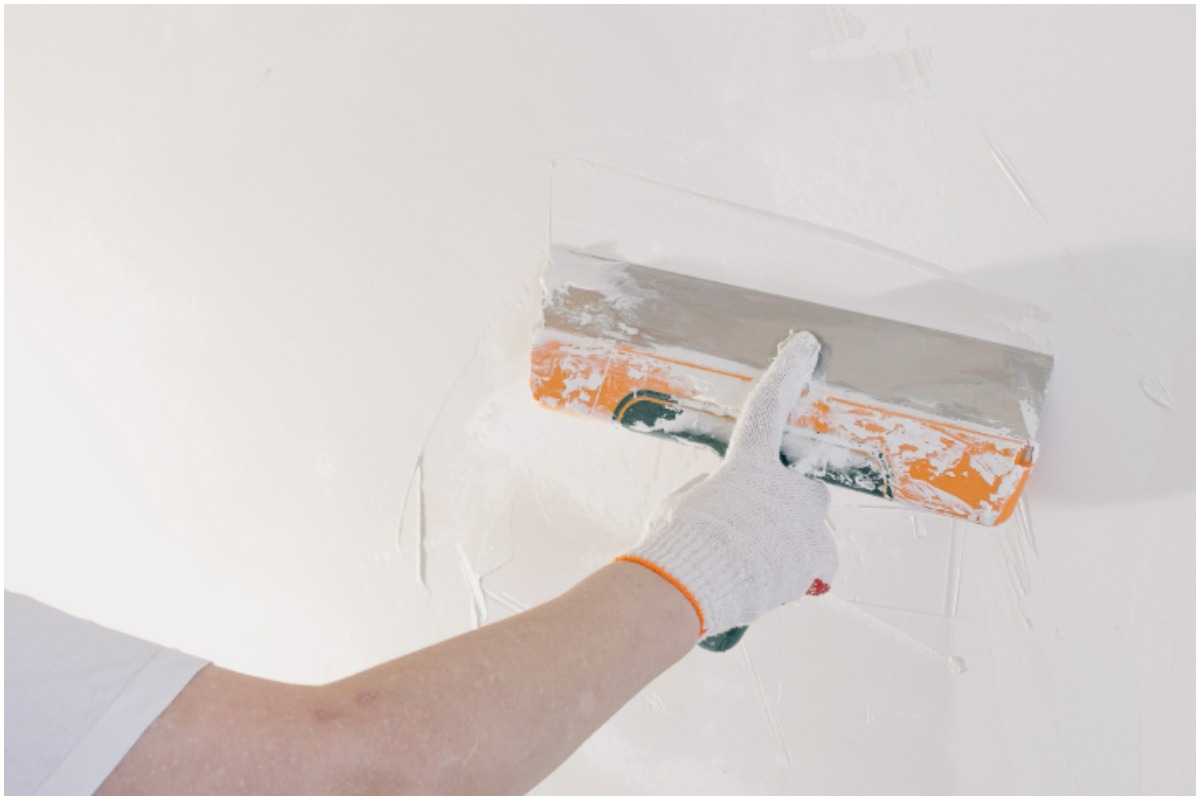
How to repair small holes and cracks
To effectively repair the crack or hole in the drywall, start by using a utility knife to widen the crack slightly. Once widened, carefully fill the crack or hole with joint compound, ensuring even application with a putty knife. Allow the compound to dry completely, and then lightly sand it to create a smooth and seamless surface. For a flawless finish, apply primer and paint over the repaired area, blending it with the existing wall color for a seamless restoration.
“Many homeowners can fix simple cracks, assuming the problem isn’t too serious,” says Bobby Ross of PaintPro. “Cracks are thin and typically located at natural stress points, such as door frames, so they can be patched and repainted safely. For thin cracks like these, you can give them a light sand, apply a small amount of caulk, wipe it down with a damp towel and simply touch up the paint.”
Liam from Austin Area Handyman adds, “there are many effective ways to repair smaller damaged areas like mastering the “California Patch.” Repairing damage up to 7 inches in diameter can be accomplished the easiest with a self-adhesive patch and joint compound. Make sure to apply two coats and expand the joint compound out beyond just the patch for a clean, smooth repair.
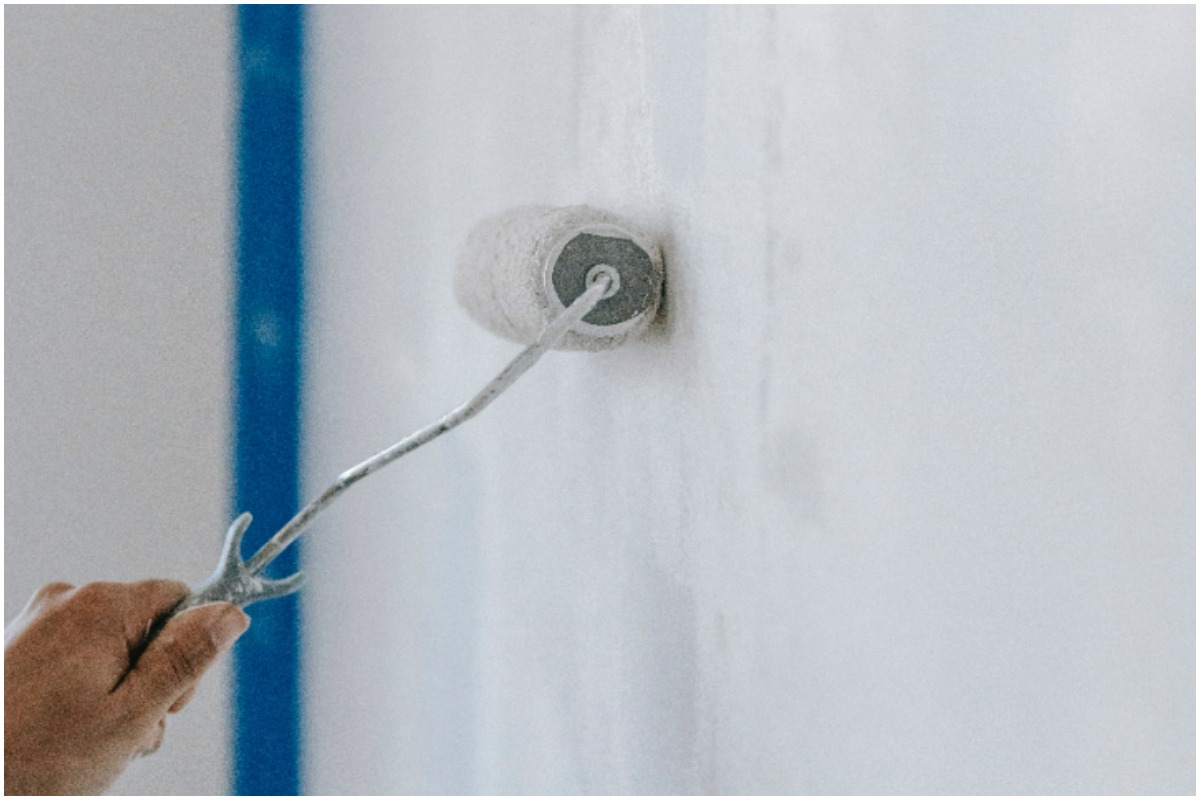
How to fix larger holes
Liam also notes that larger damage will have to be replaced instead of simply repaired. To do this, begin by cutting it into a tidy square or rectangular shape with a utility knife. Next, measure the hole and cut a piece of drywall or a pre-made patch that is slightly larger than the hole. Affix the patch to the wall using drywall screws, making sure it sits flush with the surrounding wall. Apply mesh tape over the seams and cover it with joint compound. Afterward, smooth out the compound, allowing it to dry, and then sand it down for a seamless finish. Finally, prime and paint the patched area to seamlessly blend with the rest of the wall.
How to deal with water damage
Michael Clements of PatchMaster emphasizes that you should treat water damage with urgency. “Many times, walls and ceilings will develop a brown or dark stain,” he says. “This is typically from a water leak, so act quickly if you notice discoloration that wasn’t there before. Ignoring a water leak can turn into a very costly repair as severe water damage can happen quickly.”
“Typically, water damaged sheet rock will either be soft to the touch, presence of mold/mildew, or show to be sagging,” adds Austin Painting & Drywall LLC owner Travis Hawk. “It’s best to cut out the affected area, using proper precautions if mold or mildew are present. Repair patches can be made, with a proper nailer around the perimeter of the patch. Tape and float the repair patch using repair mesh tape combined with a fast setting joint compound mixed to a workable dough-like substance, which is then applied with a knife and a steady hand. Apply two to three bed coats, building out joints laterally to prevent visible edges around seams, sand imperfections and spot prime your repair prior to paint.”
A final note on drywall damage
Detecting and repairing damaged drywall is essential to maintaining the integrity and appearance of your walls. By identifying the type and extent of damage, gathering the right tools and materials, and following the appropriate repair techniques, you can restore your drywall to its former glory. Regular maintenance and swift action to address damages will not only enhance the aesthetics of your living space but also contribute to the overall longevity of your home.