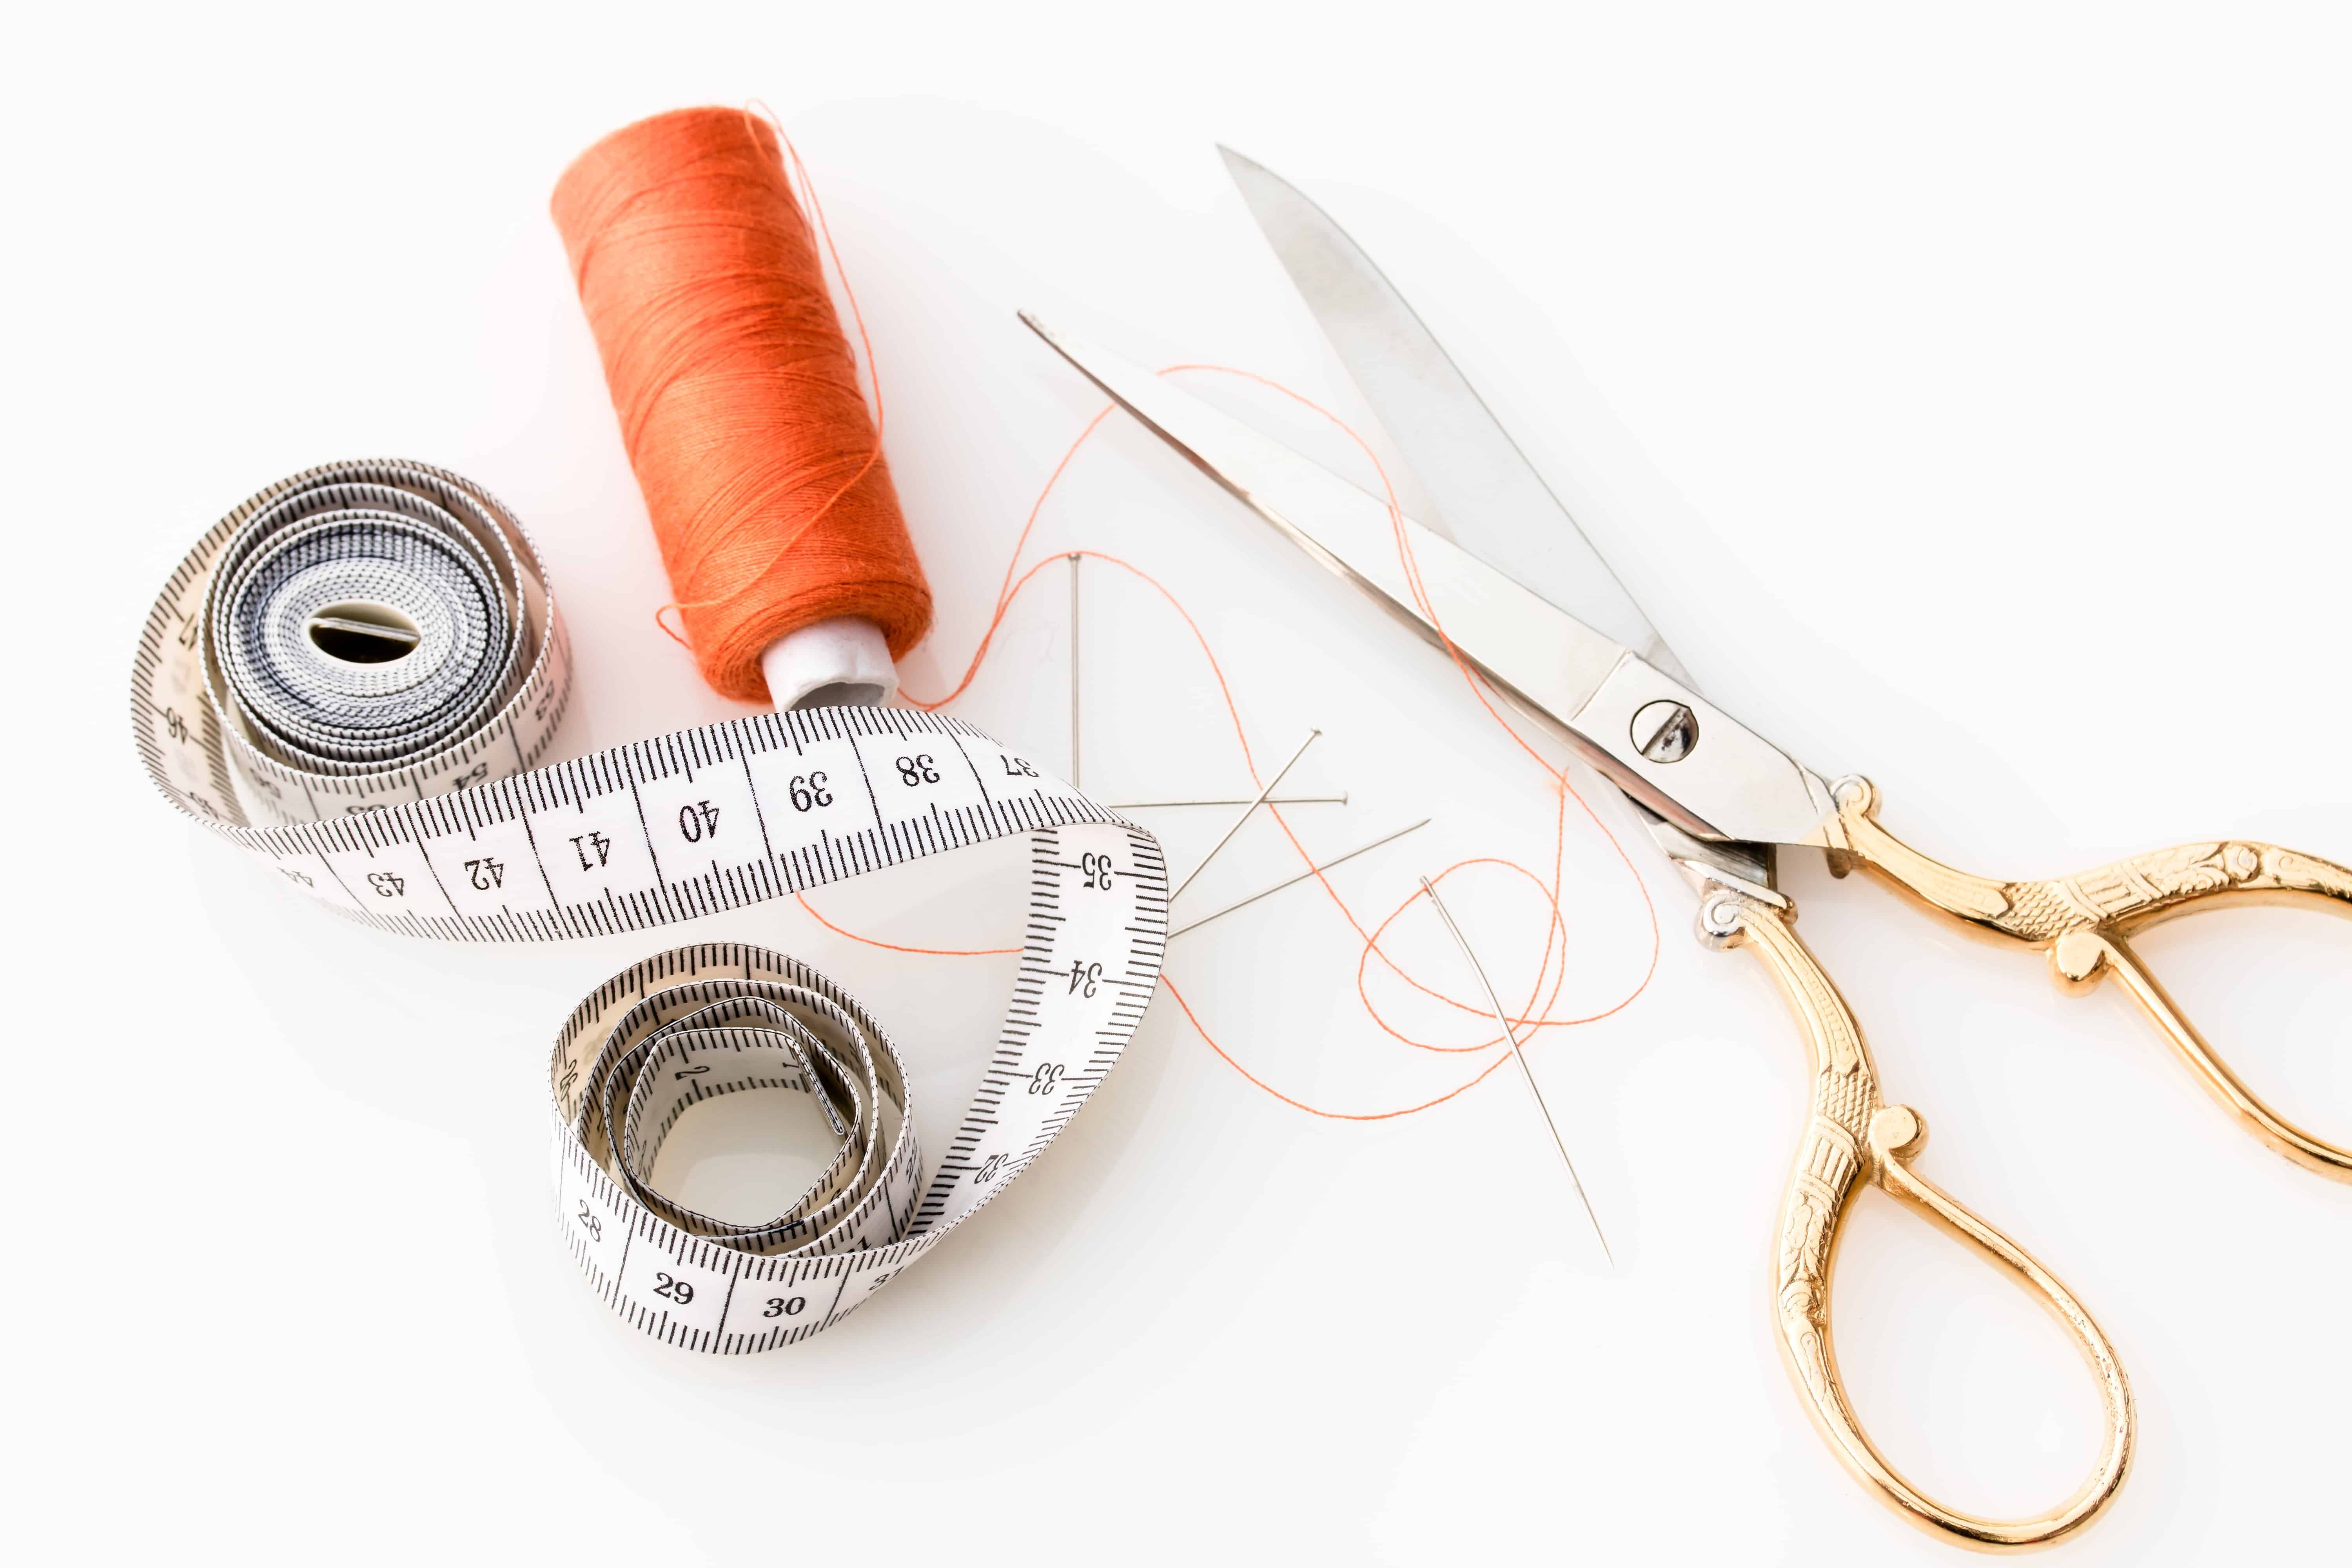
A sewing room is a space where you can concentrate and indulge in your passion – whether that be sewing, knitting, quilting, or another form of crafting. It’s the perfect place to keep your supplies organized, plan projects, and concentrate without interruption. For those who take clients professionally, the sewing room may be your show space for completed projects or a private spot for fittings and consultations. If you have small children, it’s also the best way to ensure that curious fingers aren’t hurt! Regardless, a dedicated area is a must if you’re serious about crafting. These sewing room organization tips will give you guidelines for what you need in your sew zone, what you don’t, and how to create the sewing room of your dreams.
What you need in a sewing room
You don’t need a ton of space to establish your sewing area. If your square footage is limited, like in a smaller home or apartment, your sewing room could simply be a corner with a table and some storage shelves. Your particular needs will depend on the specific type of work that you’ll be doing, but there are a few universal basics all crafters should know.
“We highly recommend a full-body mirror or three-way mirror in your sewing space. This is extremely helpful if you’re planning to tailor clothing for yourself or others. If you know you are going to be working on a lot of formal gowns and dresses, make sure you purchase a small step stool to have your clients stand on during fittings.”
– Aladdin Hussein, Owner of Artful Tailoring
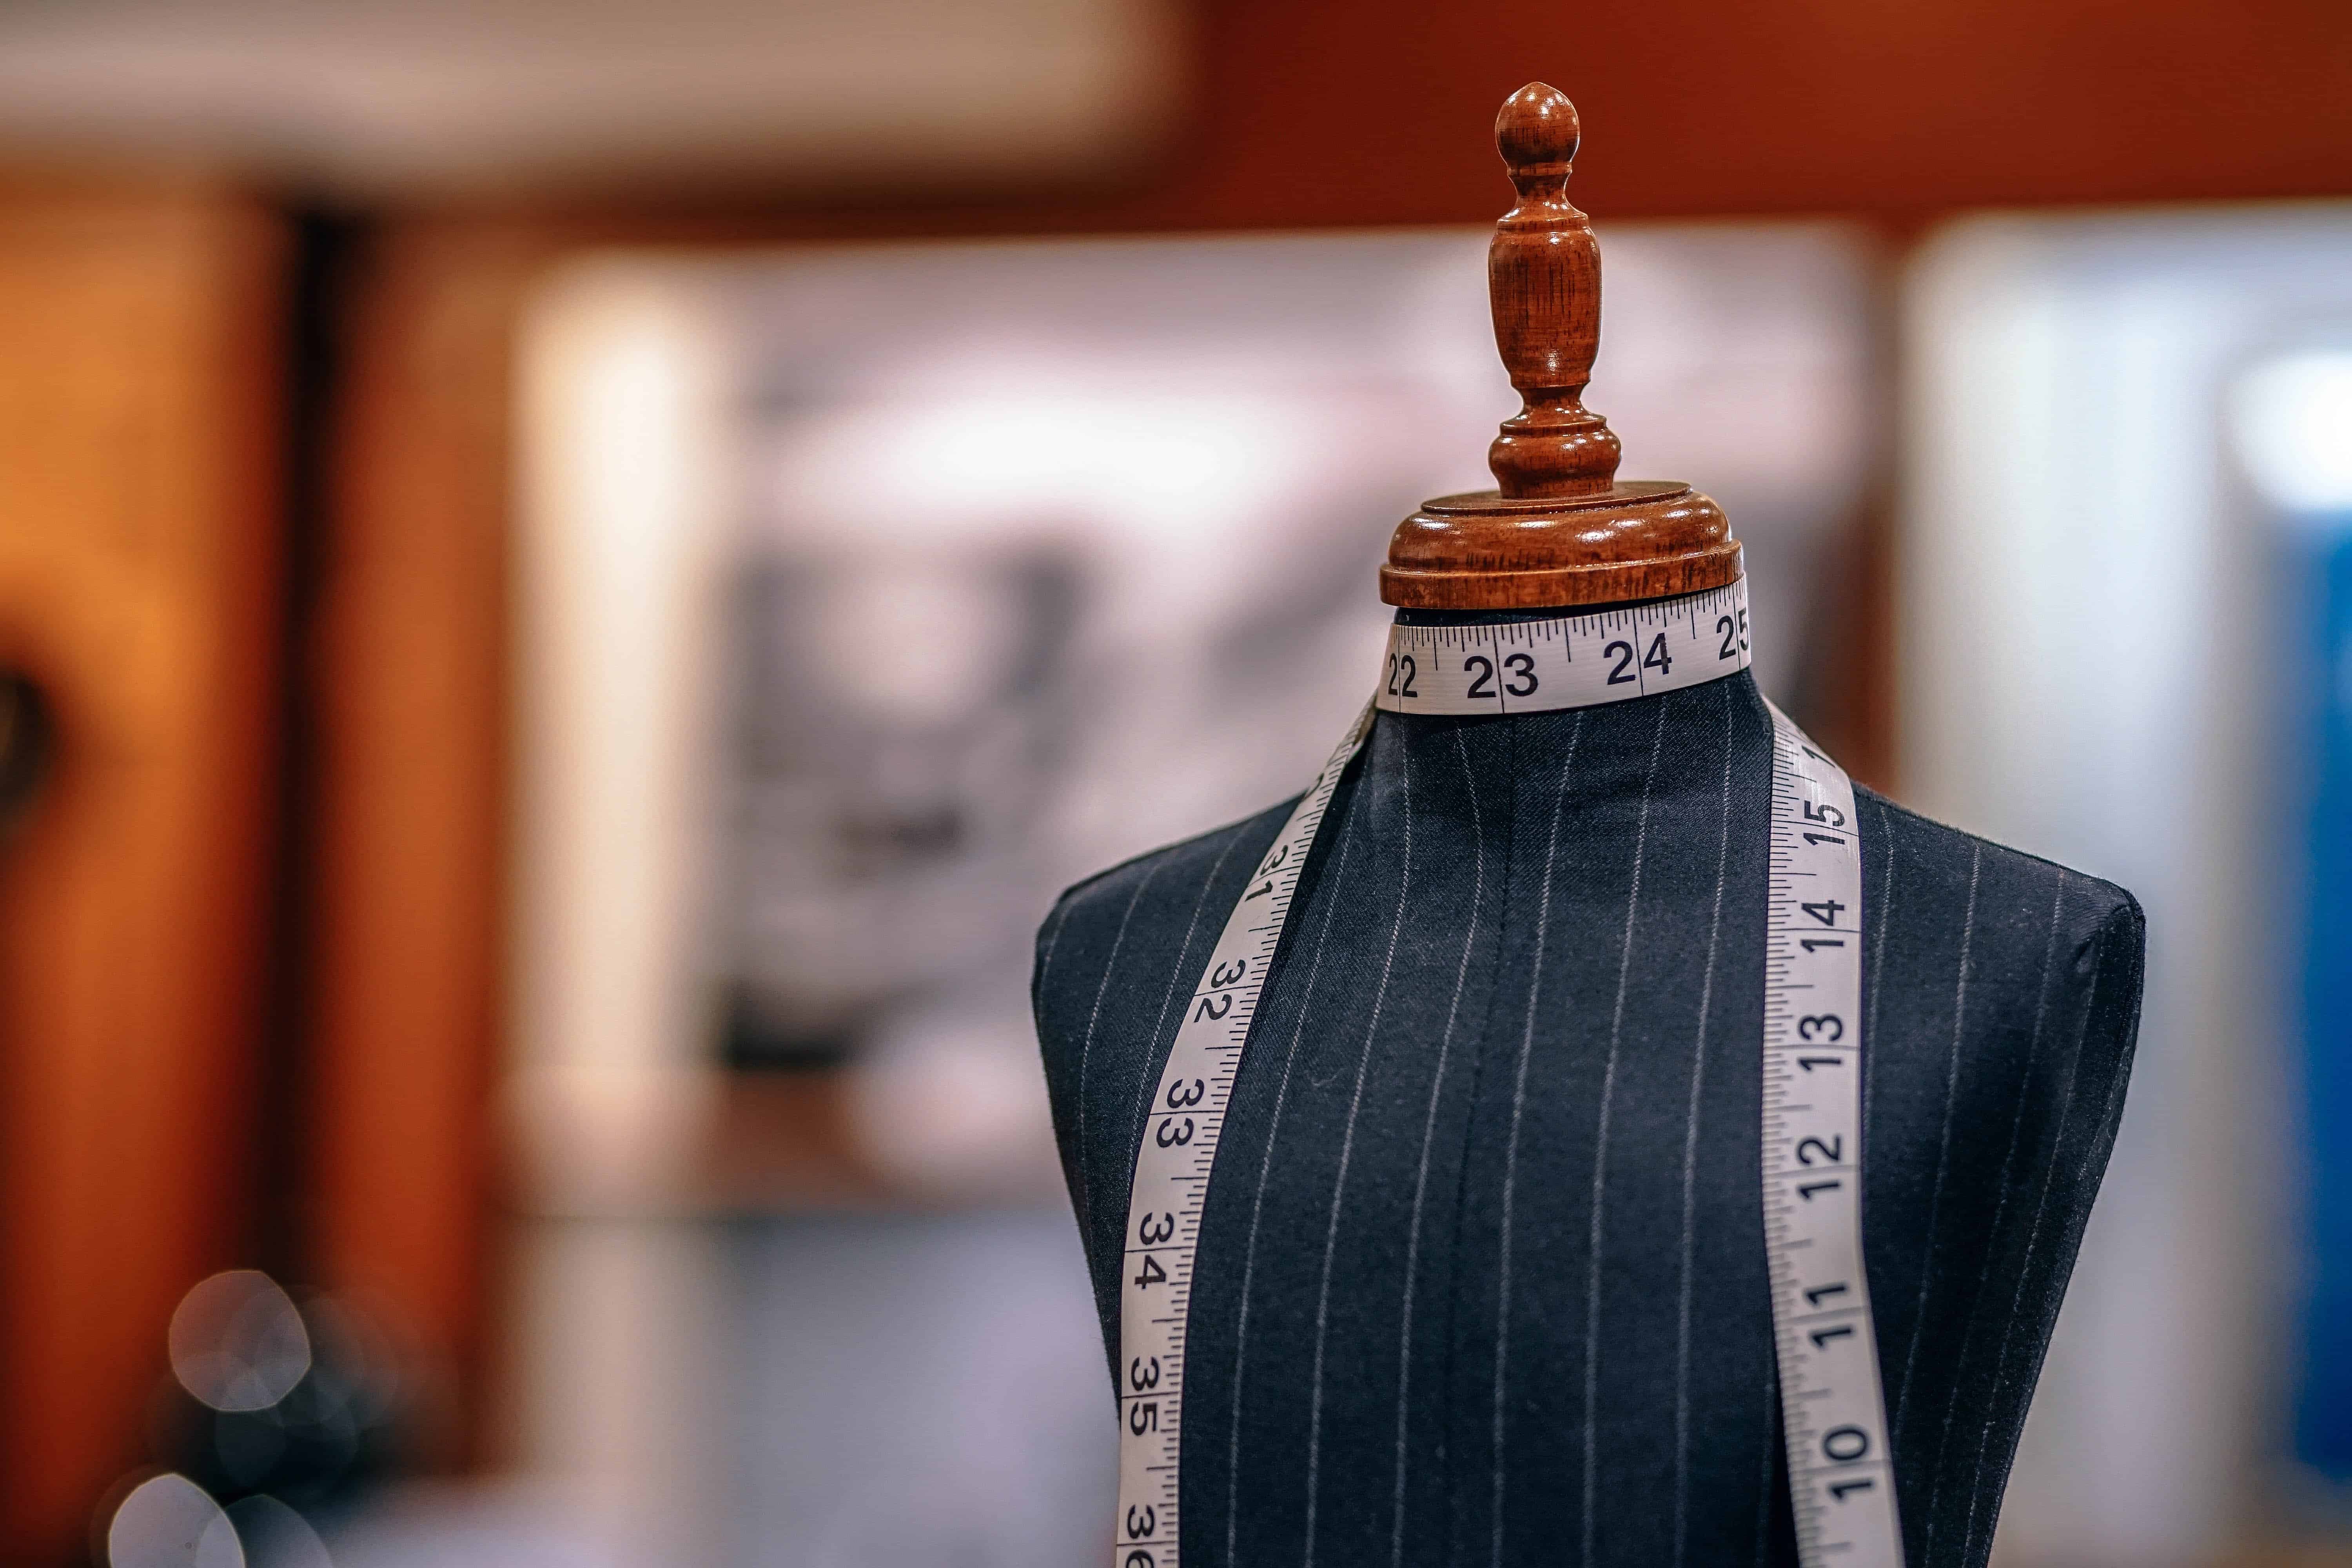
Sewing machine
Obviously, you’ll need a good sewing machine. You may also wish to have a serger or industrial-strength machinery for leatherwork. If your sewing projects include embroidery or beadwork, then you’ll need an embroidery machine and specialty equipment, while quilters may find a long-arm machine useful.
Electrical outlets
If you’re able, have a few extra electrical outlets installed in the space. You’ll be surprised how many things you’ll need to plug in! If that’s not an option, invest in some industrial-strength surge protection power strips, and make sure that they can accommodate a three-pronged plug.
Sewing table
Cutting and sewing projects can damage a regular table, so a sewing table is a worthwhile investment. The surface should be sturdy and able to handle the movement of the equipment without shaking. You can buy one or make a DIY sewing table relatively affordably.
“The worktable in my sewing area is at desk height, but I also have a large work table at a counter height that is perfect for fabric cutting. The height saves my back and makes pattern layout a breeze. Can’t invest in a counter height table? Just put some bed risers under any table to bring the top up to a comfortable level. “
– Alice Smith-Goeke, Owner of Fabric Ninja
Opt for a folding table with wheels – that way, you can expand all the leaves into your space when you need it, then fold them up and roll it away when not in use. This prevents you from having to use your dining room table, where you may either damage the wood or get your fabric dirty. Invest in a high-quality rolling office chair – preferably one without arms – for maximum mobility at your sewing table.
“Make sure to select a stable table that isn’t going to bounce around as you sew or work. If possible, have tables with adjustable legs so you can find the most comfortable height.”
– Michelle Stoffel, Co-Owner of Style Maker Fabrics

How tall should your sewing or cutting table be?
The “standard” table height is between 24 and 28 inches for sewing (sitting) tables and 36 to 40 inches for cutting (standing) tables. However, these measurements are based on a person who is 5’3″, so you may need to adjust if you’re taller or shorter. Your ideal table height is based on a.) your height, b.) the height of your sewing machine, c.) the type of work you’re doing – i.e whether you’ll be sitting or standing. The most important thing is that you are comfortable.
“The table height should make cutting and pinning easy to do without stretching up to your tippy-toes or leaning down super far. You should make sure that you aren’t hunching over while sewing too. You don’t want your crafting to be a painful endeavor.”
– Megan Boesen of Knit & Bolt
Storage bins
Storage is essential to sewing room organization. Choose clear bins that allow you to view the items inside. Bins that are stackable and square, instead of round, help maximize the area in your storage space. If you don’t have a designated closet at all for your fabric, consider pre-shrinking it and storing it under your bed in opaque containers.
Shelves and cabinets
Make use of vertical space! Instead of simply stacking tubs one on top of one another, invest in some shelves. This will make it easy to grab what you need without having to pull down and restack containers each time. You can purchase plastic storage shelves from your local hardware store, or you can DIY your own shelves. You may go a step further and install some cheap kitchen cabinets along the walls of the room to hold your fabric and supplies.
“Look for lots of natural sunlight and storage. Closed cupboards with glass panels will let you show off your fabric collection, and wood panels will hide any clutter. Make sure everything in your space has a home, and inspiration will continue to strike as you sew!”
– Amy Ellis, Author at AmysCreativeSide.com
Pro tip: Install a garage bicycle holder into the ceiling to keep a dress form, cushion forms, or rolls of batting out of the way when not in use.
Labels
Buy some clear sign holders and write the contents on index cards – for example, the number of buttons, or the yards of each piece of fabric. This makes it easy to find what you need for a project and to see what supplies you need to restock.
“To display and store thread, buy a sheet of MDF Hole board and use pegboard hooks to rest your spools on. You can paint the board in any color to liven up your space and show off your creativity! This frees up floor space and makes it easy to see your supplies.”
– Aladdin H.
What to avoid in a sewing room
Clutter
Avoid overcrowding your workspaces. Make sure that each piece of equipment has room behind it for the sewn fabric to fall without damage, and that you have enough space to navigate the room comfortably. If you’re creating a corner sewing nook, be sure to reinforce the surface with weight-bearing table legs or something similar.
“Think about the flow of your activity. Arrange your workspace so it’s easy to move from one station to the next. If you do this, your project will come together more quickly and with less frustration.”
– Penny Lai, Owner of Gala Fabrics, Victoria, BC
Darkness
If you’ve ever threaded a needle, you know how important lighting is! Be kind to your eyes and incorporate plenty of bright light into your workspace so you can see what you’re doing. Natural light is a great option. You may also want to install wall lights with long, moveable arms to position over different spaces for close detail work.
“Good light is essential for color matching and close design work. Try to pick a spot by a window that has lots of natural light. Incandescent lights can add a yellow or blue cast to your projects, which can taint the color of your projects. Full-spectrum light bulbs are a good substitute but can be expensive.”
– Penny L.
Sunlight
While natural light is a great way to brighten a space, direct sunlight can actually damage your fabrics. For this reason, it’s best to store fabric in a clean, dry, space like a closet – away from direct sunlight.
“Display your yarn in a way you can see it. It can be easy to have an overwhelming stash, but even easier to lose those special skeins when you can’t see them. You can display them in a bookshelf or glass case, or even see-through boxes if you’re tackling humidity or critter (moths!) problems. That way your yarn is stunning AND safe!”
– Chantal Miyagishima, Owner & Designer at Knitatude
Quick organization tips
Your sewing room should be a space where you can readily access everything you need, or see if you need to restock anything. Here are some tips to organize your space quickly:
- Create an inventory spreadsheet of your supplies so that you can take a fast look to determine what you need on each shopping trip
- Pre-shrink your fabric and store it away from light
- Remove the cabinet doors and closet doors (if your fabric isn’t in the closet) for easier access – and to avoid bumping your head!
- Use a laptop for pattens instead of a larger desktop computer
- Create a “dream board” of the projects you want to start or as a collection of ideas and inspiration
- Add a small speaker to listen to your favorite tunes or soothing white noise
- Hang photos of your favorite past projects on the walls, or snapshots of your friends, family, or clients wearing your creations
Expert advice
Decorate & Design
“Designate a space in your home where you are free to make a creative mess. Even if it’s a small table in a corner or a closet, it’s crucial to be able to walk away from a project when you’re feeling uninspired – or to be able to dive right in when inspiration strikes. If every time you want to sew, you have to lug the machine up from the basement, and then tidy up completely at the end of each session, it will be much harder to keep a consistent creative practice.”
– Samantha, Seamstress at Fluffyland.com
“When you finally get a space to call your sewing room, it’s tempting to use every last bit of it for storage and work. While those are important and necessary, try to carve out even a tiny spot for décor. It makes the room feel more fun and personal. I find I feel more inspired if I have a few things to look at that are finished, instead of being surrounded by a to-do list. Bonus points if it’s something you’ve made yourself!”
– Staci Wendland, Owner of CraftyStaci.com
“Every workroom needs a good design wall. Standing back and viewing your quilt or fiber art from across the room is critical to successful pieces. For garment sewists, a dress form does the job. The larger the design wall the better, because you can look at multiple projects or large quilts without pieces falling off the edge. There are a multitude of websites out there showing how to make a design wall and a variety of design walls that don’t even require a trip to your favorite DIY store. Check out your options and get one so your projects will be easier to review.”
– Jaye A. H. Lapachet, Principal & Designer at Artquiltmaker.com
Get creative
“Storage is the most important element of your craft room. However much you think you will need, double it! Try to use every inch, especially little bits of space that might normally be wasted:
- Above the door or window, you can add a useful shelf with storage boxes or baskets
- Add a row of hooks on the underside of a shelf to hang scissors, bags or storage tubs
- A pretty pegboard can be both decorative and provide storage for small items
- See if you can find a shelf unit to tuck against the wall under a desk. If it’s not too deep you’ll still have room for your legs”
– Julie Nyanyo from Sum of their Stories
Practice self-care
“Start thinking about your sewing space as a self-care studio. It’s not just about function, it’s about how you feel when you are there. Try keeping your tools off the wall and in storage containers or drawers. A thread rack can seem beguiling, but most other notions are not visually soothing for many folks. I have a practice of clearing the surfaces and walls at the end of a project so I can hold space for the next creative endeavor.
“Lighting is a necessity while sewing, so don’t skimp on this detail. You can rarely rely on an overhead light to provide you with the brightness that you need. Bring in an adjustable lamp or wear a comfy headlamp if you do a lot of sewing at night. Once you have your primary light sources squared away, invest in a string or two of warm LED twinkle lights. String them above your machine(s) like a garland, and your happiness level will increase by at least 64%, guaranteed.”
– Meg McElwee, Owner of Sew Liberated and The Mindful Wardrobe Project
Use the Tri-Space Method
“No matter how much (or little) space you have or what you make, I like to organize my sewing room using a tri-space method. Here’s how it works in a nutshell:
- Space to work – flat surface for cutting fabric, sewing, laying out, etc. And don’t forget a comfy chair.
- Space to dream – shelf for how-to books, wall space for inspiration, and window, too!
- Space to stock – drawers, shelves, or bins to organizing your supplies.
“You don’t need a lot of space — it’s nice but not necessary. You just need a plan.”
– Jessica Bonilla, Owner of Bloomerie Fabrics
All artists and crafters know the challenge of staying organized. Between pins, needles, thread, yarn, buttons, glue, and fabric, there are many moving parts that can lead to a big mess! By organizing your sewing room, you’ll free up space to tackle even the most ambitious projects. There are many ways to create a functional and beautiful sewing room, but first and foremost, your sewing room should make you happy. Let it be an inspiration and reflection of your creativity.
How did you create the sewing room of your dreams? Let us know your sewing room organization tips in the comments!

 United States
 Canada