Adding a DIY fire pit to your backyard is an excellent way to keep the fun going long after dark. However, figuring out the best fire pit design can often pose a challenge. When selecting and building your DIY fire pit, there are many considerations you should take into account, from making sure you avoid using wet stones to giving river rocks several days of direct sunlight to dry properly. If you’re wondering how to build a fire pit — we’ll show you how. This guide will break down the different types of DIY fire pit ideas you can install, the materials you need for a fire pit area, and what may work best in your home so that you can roast hot dogs and marshmallows around your newly build seating area all night long.
1. Overlaid Stone DIY Fire Pit
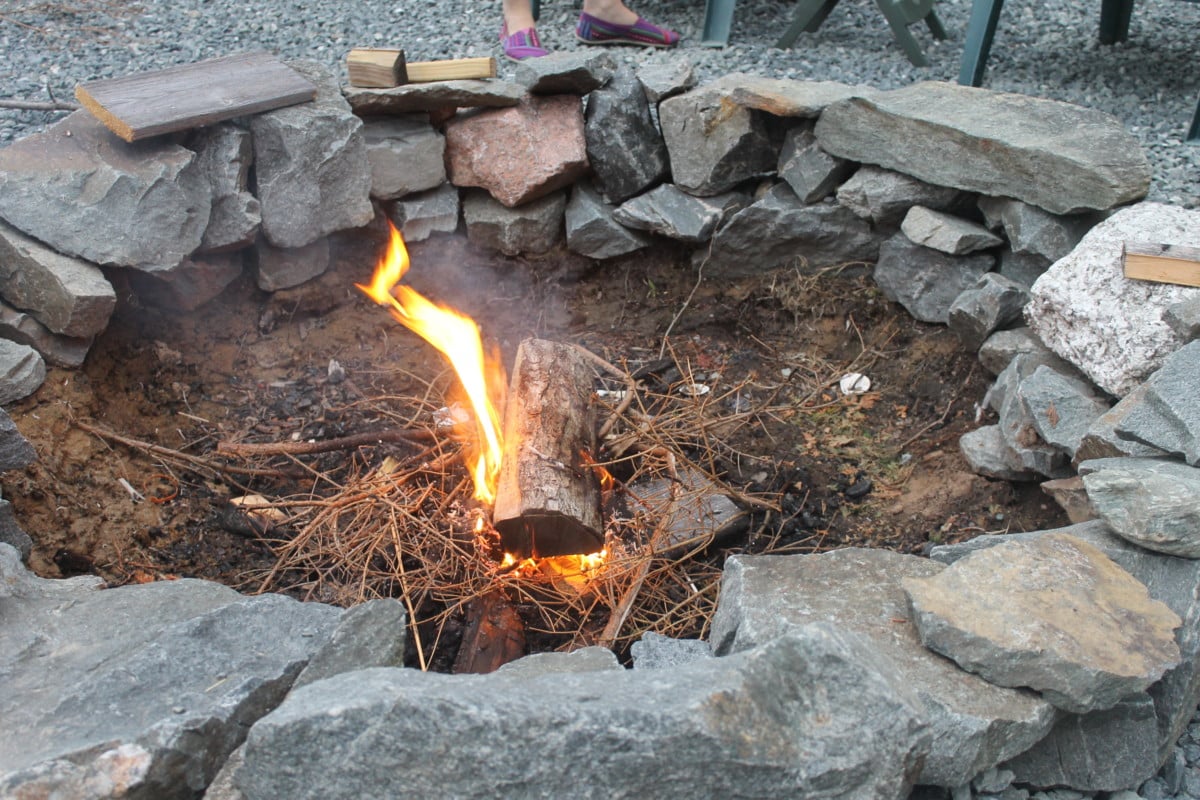
For an artistic-looking DIY fire pit, instead of evenly shaped fire bricks, grab several rough rocks and construct an overlaid stone fire pit. If your pieces are hearty enough you won’t need any cement for this pit either — but use common sense when building up your walls. All you need to do is stack large rocks in a circle about three rows high. Be sure to use larger rocks for the foundation. Here are some additional tips to secure your structure:
- If the stones do not feel secure, add in some non-flammable masonry adhesive, landscape adhesive, or Liquid Nails.
- For the center, line the bottom of your fire pit with one or two inches of paver sand.
- The outside of your fire pit should be lined as well, and no grass or other yard matter should be within two feet of your pit.
This simple fire pit will easily liven up your outdoor space and serve as the perfect seating area for cold nights.
2. In-Ground DIY Fire Pit
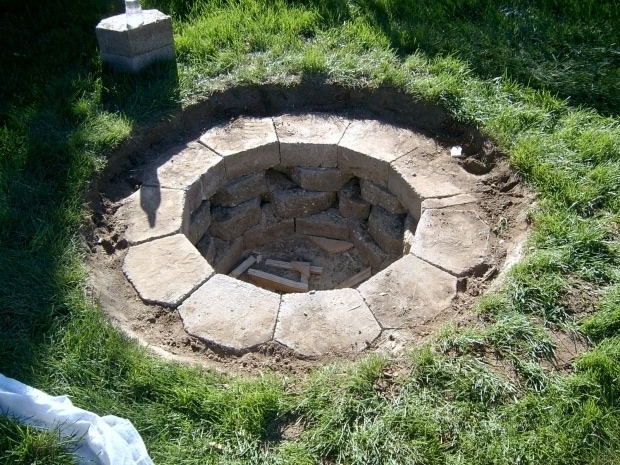
The in-ground fire pit is becoming increasingly popular among DIY fire pit builders. Before digging into the ground, make sure you call 811, the federally mandated “Call Before You Dig Number.” Someone will come to mark the approximate location of any underground lines, pipes, and cables so you can dig safely. A typical in-ground fire pit can range from 1 to 3 feet deep. Once you dig your fire pit to the desired size, line the dirt walls with stones or brick. Follow these additional steps to get started:
- First, you will want to create a bottom layer of gravel or lava rock, then cover it with the base of your fire pit — larger stones or bricks or an even covering such as quick-drying cement.
- Consider adding a drain during this step to keep the pit from filling with rainwater and attracting mosquitoes. You can do this by digging a trench from the center of the pit outward. If you want to add a pipe, install it about 10 feet from the firepit.
- Place your bottom layer of stones and make sure they are level so when the stones are stacked they’re flat.
- Once the first layer is flat and level, brush off any excess dirt to prepare for gluing the next layer. Apply some construction adhesive to the bottom of another block, turn it over, and stack it on top of the first layer. Continue this process until your firepit reaches the top of your hole.
- Backfill the edges and compact the dirt around the fire pit.
- Allow at least 24 hours for the construction adhesive to cure before starting a fire.
3. Tin DIY Fire Pit
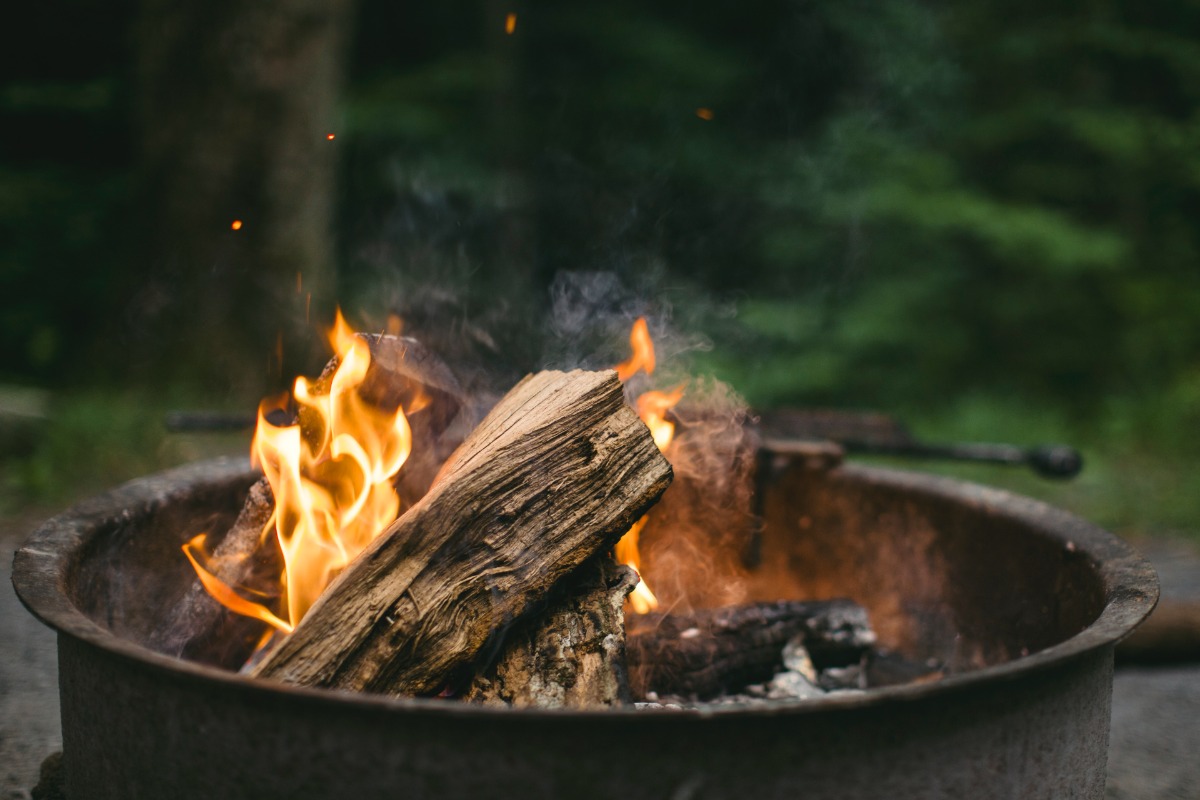
Using whatever barrel-shaped scraps you can find, you can create an all-in-one tin DIY fire pit. Tin fire pits are extra safe as they ensure your fire is adequately contained, and are much preferred in areas with wide open plains and active winds such as if you’re living in San Francisco, CA, or renting a house in Indianapolis, IN.
You can spruce up your repurposed tin barrel nicely with high-heat paint (like Rust-Oleum) and stencils.
4. Above Ground DIY Fire Pit
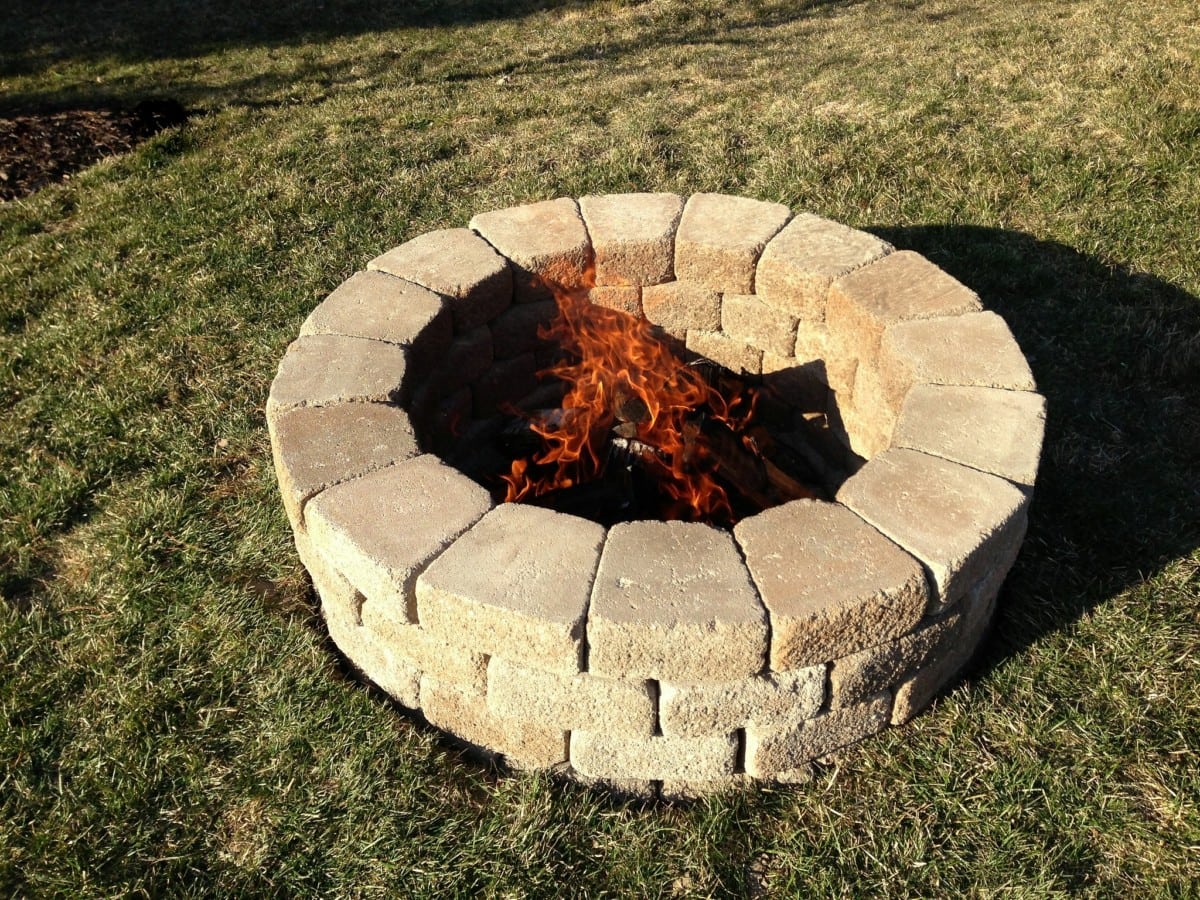
An above Ground fire pit is the perfect DIY fire pit solution for those who do not want to put in the effort to dig a hole into the ground. First, select some handsome gravel for your foundation, spread it out to create your overall fire pit space, then stack your fire pit stones in a circular shape. For this design, be sure to select precut stones that are even and fit together perfectly. With this, you’ll be able to create a large fire pit or a small fire pit depending on what you prefer. The concrete block firepit pictured above was built with crushed concrete rock with some additional aesthetic details. However, there are many different rocks you can choose from such as stone brick or cinder brick.
The pit’s stones ought to be more than heavy enough to be dry-stacked, meaning there is no need for adhesive or cement. Hang some outdoor lights above your fire pit and decorate with flower pots to make the most out of your outdoor living space.
5. Raised DIY Fire Pit with Fire Bowl
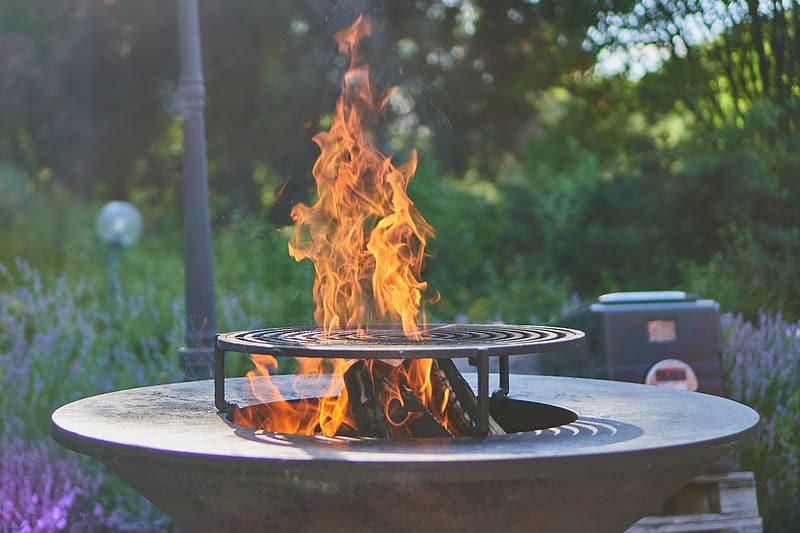
If you want an elevated fire, this is the design for you. You can build up your fire pit walls to the desired height (only use even bricks for this design, not the rough stones mentioned above) and then top off with a fire bowl or fire pit table that you can purchase from the store.
Ensure that your fire pit is the proper size for the bowl by building the first layer of the wall around the screen top of your fire bowl. When purchasing a fire bowl, make sure it has holes for drainage in the center and a nice foundation such as lava rocks (dumping out fire bowls filled with water is a hassle). You can even get one with a glass cover to prevent water from getting into the pit. This modern fire pit idea will give your home an elevated look compared to the others.
6. Grate Drum DIY Fire Pit
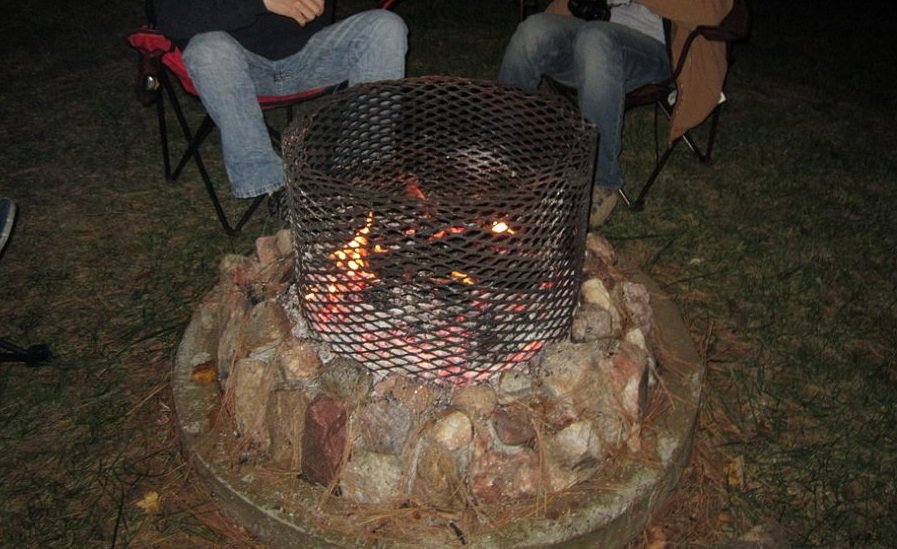
For a less formal, down-home DIY fire pit look, simply add a smoker fire basket (also called a vertical drum) to the mix. You can either buy one pre-made, or you can craft one yourself using flexible metal grating from the hardware store and a few bolts to fasten it into a circle. Quite a few Hometalk DIYers like to use old washing machine drums, which cost about $10 from used appliance stores. Then insert your drum into the center of your fire pit. If you choose to build a solid wall design like the fire pit pictures, make sure you leave a drainage route for rainwater.
Whichever style you choose, make sure you enjoy responsibly. Take all the necessary safety precautions before, during, and after building your fire pit to keep everyone safe.
*Individual results may vary