As colder weather approaches, many Americans are starting to spend more and more time indoors. And while winter is known for its recreational activities, it’s also an excellent time to hunker down and get creative or just work on those household projects you’ve been putting off for months. What better way to do that than building your very own indoor workshop? From organization to vacuum systems, we’ve got you covered with tips for creating the ultimate indoor workshop from the experts who know best. Whether you’re in Portland or Bellport, read on to find out how you can create a functional workshop away from the elements.

Safety first
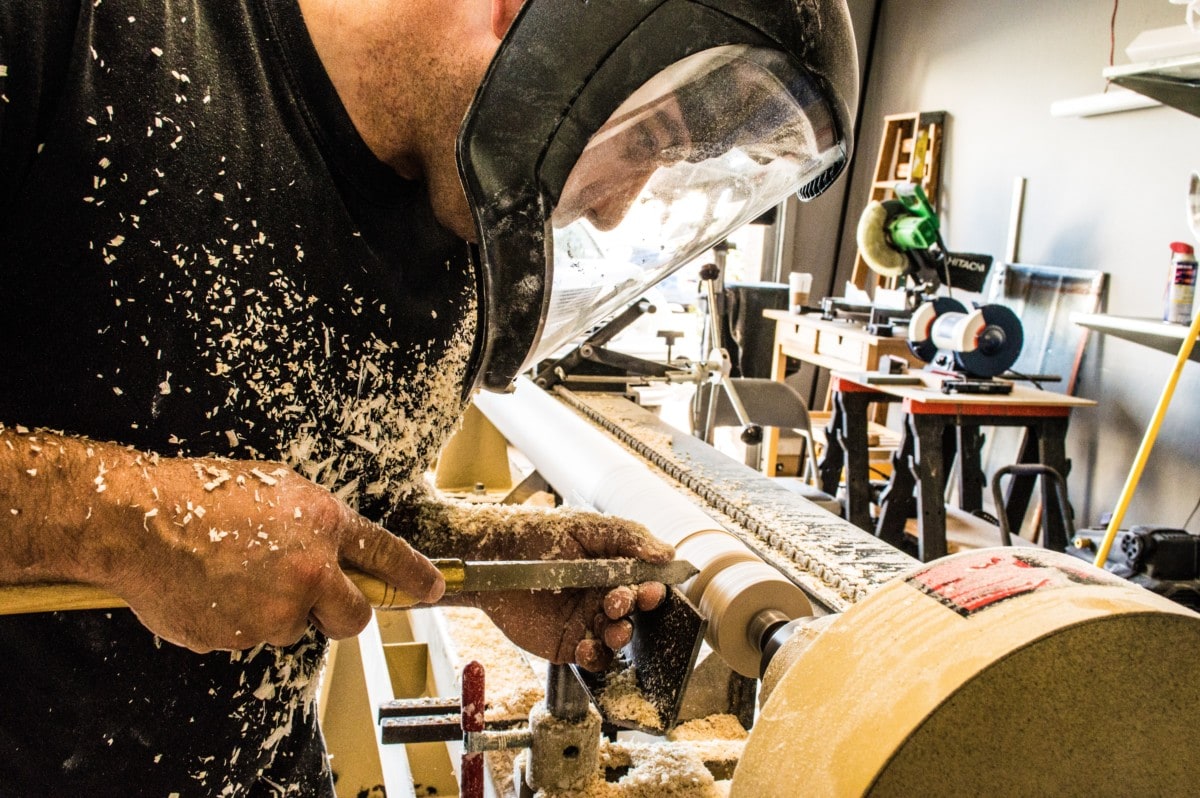
You can surround yourself with the latest tools and have a great shop organization, but you may not do much work if you ignore safety. The internet is full of vignettes of “idiots with chainsaws”; don’t join their ranks by becoming an “idiot with the table saw, jointer, drill press, or bandsaw”. Remove your jewelry, tie up your long hair, roll up your sleeves, and don’t wear gloves while you’re working with woodworking machines: a machine can draw you into a turning blade or bit in the blink of an eye if it catches your hair or garment. Always use push blocks and push sticks to guide stock through cutting tools. Do wear ear protection and eye protection, always. And all those warnings about “don’t operate machinery while under the influence of drugs or alcohol”? Heed them. Save the wine or craft beer until you’re done for the day. – Lighthouse Woodworking
Let there be light. Lots of light.
When I set up my last iteration of a woodshop, I made lighting a priority. In a small space, a mobile rechargeable battery set-up is a good idea along with the normal 4-8’ long ceiling hung lights. LED or fluorescent is best and lower in cost to use. Good lighting is one of the strongest aspects of a smaller workspace. In the woodworking world, it can prevent an accident or help you find that small screw that fell and rolled on the floor. – Boland Woodworking

Good lighting in your workshop is always important. So, why not add natural lighting via skylights or a large glass roll-up shop door. It not only serves as added lighting, but it also feeds the soul. – Littlebranch Farm
Invest in a reliable vacuum system
When working with wood it is important to have a vacuum system setup. All machines, stationed or handheld should be able to connect to a vacuum. A fast and efficient set-up is a shop vac combined with a 5-gallon bucket cyclone attachment. It separates the fine dust from the heavy chips and keeps the filter on the shop-vac clean and therefore at full suction capacity. – Honolulu Furniture Company
Keep dust under control
Effective dust control is an essential element of any clean, healthy, and productive indoor workshop. Upgrade your dust collection by installing a cyclone separator between your shop vacuum and/or dust collector and the dust-producing tool. Oneida Air Systems cyclone separators – the Dust Deputy for shop vacuums and Super Dust Deputy for dust collectors – remove 99% of dust and debris from the airstream, keeping your shop vacuum and dust collector’s filters clean. This saves you time and money by significantly extending the lifespan of your filters and by eliminating clogging and suction loss so you can remain focused on the task at hand. – Oneida Air Systems
Incorporate fatigue mats for leg and back support
We make hand-crafted gift boxes in our workshop, which means we’re standing for long periods of time to cut, stain, and finish each one. We quickly recognized the importance of ergonomics and purchased fatigue mats for leg and back support. It’s important to invest in commercial-grade mats, at least ½ inch thick. It made a big difference, increasing our production output threefold. – Red and Rugged
Ensure easy access to power outlets
No modern workshop is complete without electrical power to get your power tools working. That’s why you need to make sure there are enough power outlets or sockets around the workshop so you always have access to electricity anywhere you need it. I always tell people that it’s not about having power in your workshop, it’s about having it exactly where you need it. Having enough sockets around your home workshop ensures you limit or even eliminate the use of messy extension cords inside the shop. If you want to run a power tool at one end of the workshop, you shouldn’t be pulling an extension cord from a wall socket at the other end of the workshop to that end. If you do that, it means there will be wires running everywhere around the shop, on the floor, on the workbench, and so on. You always want to keep things neat and tidy inside the workshop and extension cords don’t help you do that. So, before you install tool cabinets, workbenches, dust collection systems and bring in tools into your indoor workshop, ensure there are enough power outlets or sockets to get your tools running once the workshop is completed and ready for use. – Craftsman Pro Tools

Arrange your tools to prioritize your most common projects
There are several important aspects, for me, to create the ultimate indoor workshop. Aside from the obvious organizational and workflow tips (e.g. hang extension cords from the ceiling to minimize cords on the floor, arrange tools in a workflow pattern that reflects your most common projects), I think that the most important aspect is to create a space that allows your creativity to flow free from the distractions of normal life routines. In my own workshop, I have attempted to solve this by orienting my tools and workspaces around a singular french cleat tool wall. It serves as a focal point and brings me back to the reason why I am in the shop: to build. Find a way to set up your workshop so that it focuses and inspires you! You can find me and learn more on my YouTube channel here. – CCS & Sons Workshop
Work smarter with proper equipment modifications
Your bandsaw will function at its best with ceramic guides and thrust bearings. Customers tell us blades last 40-45% longer due to less friction. Tip: Set the guides .002” from the blade and rotate the blade by hand to ensure that they clear the weld. – Space Age Ceramics
Think outside of the box
Creating the ultimate indoor workshop provides unique challenges so thinking outside the box is important. Create a folding workbench using YUMORE 16” Folding Shelf Brackets. Build carts with wheels that support multiple benchtop tools but also have drawers or shelves for storage. I have a YouTube video that represents a cart with folding ends to maximize space. Wall space is a premium in a small shop. There is a company called Wall Control that makes steel pegboards that support almost any type of tool or hardware. – Bayne Custom Woodworking

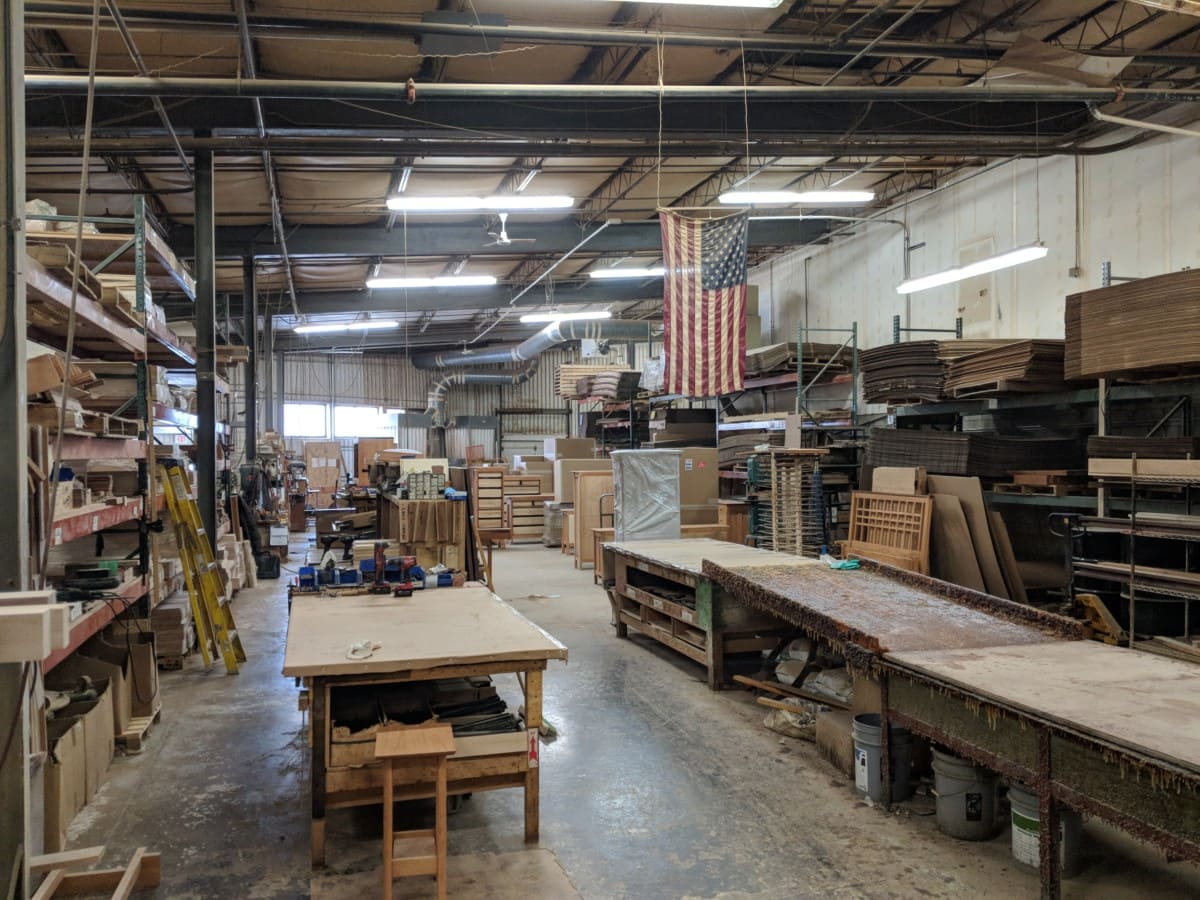
Your dust collection system will never be able to collect all of the dust. With this in mind, try to anticipate which machines will produce the most uncollected dust and hang auxiliary air filtration units above them. You can also try to anticipate what type and size projects you will spend most of your time on and build your shop around those projects. Creating a flow that works for your unique situation, and avoiding unnecessary machinery purchases. Do not underestimate the dry space you will need for material storage, and how you will store and/or dispose of offcuts and scrap wood. Extra planning and thought in this area will greatly improve your workflow. If space allows, create a flat, level, and square assembly floor or table. This will allow for more efficient assembly processes. – NK Woodworking
Consider building your own heavy-duty workbench
Center your workshop around a sturdy, heavy-duty workbench. Don’t buy one either. You can build a better and stronger workbench for much less money and you can configure it for how you’ll use it. Your workbench should be built out of heftier materials like 2x4s for the legs and structure with plywood shelves below. Add some caster wheels on the bottom to make your workbench mobile. For the top, you can have a piece of plywood with a separate melamine board over it. Melamine is smoother than plywood, cleanable, and can take a beating. If the top gets too damaged over time you can always replace it. The best part about building your own workbench is you can size it to a comfortable work height and make the work surface as big or as small as you need. John offers free downloadable plans for his workbench on his website. – Our Home From Scratch
Maximize overhead storage
Think creatively about how you can use the overhead space, especially if your workshop is in a space that has higher ceilings. This is the perfect location to hang a few retractable cord reels and hoses, to make sure you have power and compressed air wherever you might need it, or to hang a workshop air filtration system to help keep the air clean. But you can get even more sophisticated depending on your needs, installing a platform lift for as little as a few hundred dollars to provide a supplemental workbench, tool storage, or even a home for a modest-weight but large footprint tool like a CNC or laser engraver. – Branching Out Wood
Think of everything as multi-purpose
The more multi-use space you can create for a small place, the better. Don’t be afraid to think vertically as well. You can get clever with everything from rafter space, to ceiling storage when considering a home shop. – John Malecki
Every foot of a home workshop should serve multiple purposes. My workbench was custom built to allow a rolling tool chest to be stored snuggly underneath. That tool chest can be rolled out and serve as a second workbench when necessary, then be tucked away when not. – Blacktail Studio

 United States
 Canada