Are you looking to create a tranquil escape right in your own backyard? In this Redfin article, we will explore the world of privacy fences and offer expert tips to help you build the perfect enclosure for your outdoor sanctuary. Whether you’re in Raleigh, NC, or Sarasota, Florida, we’ve got privacy fence ideas that can suit no matter where you live. Building a privacy fence can be the perfect solution to achieve serenity and seclusion.
Let’s explore the world of privacy fences, from the practicalities of cost and construction to the creative ideas that will turn your backyard into a personal sanctuary.
Is building a fence for privacy a good idea?
Building a fence for privacy can be a great idea, depending on your specific needs and preferences. Privacy fences offer numerous benefits, such as creating a secluded outdoor space where you can relax, entertain, or engage in activities without feeling exposed to neighbors or passersby. They also enhance security, providing a physical barrier and helps keep pets and loved ones safely contained within your property. Additionally, privacy fences can add value to your home and improve curb appeal, making it an appealing option for potential buyers.
How much does it cost to build a privacy fence?
Building a privacy fence cost can vary based on several factors, including the fence’s material, height, length, and labor costs. On average, the cost of building a privacy fence can range from $15 to $30 per linear foot. For instance, a standard wood privacy fence typically costs around $20 to $30 per linear foot, while vinyl or composite privacy fences can range from $25 to $50 per linear foot. Additionally, factors like the terrain, site accessibility, and any extra features, such as gates or decorative elements, can influence the total cost.
For example, let’s consider a 100 linear feet privacy fence made of wood. If the average cost is around $25 per linear foot, the total cost would be approximately $2,500 (100 ft x $25/ft). However, if you opt for a more durable material like vinyl, which costs around $40 per linear foot, the same 100 linear feet fence would cost $4,000 (100 ft x $40/ft).
These figures exclude any additional expenses like permits, removal of existing fences, or landscaping adjustments. Keep in mind that the labor costs for fence installation can also vary depending on your location and the complexity of the project. It’s essential to obtain detailed quotes from reputable contractors to get a more accurate estimation for your specific privacy fence project.
“When considering privacy fencing, it is important to establish a realistic budget. Often, we talk to people who don’t understand the wide variety of materials available and the associated costs. The cost can range from $55 to $150 per linear foot and often varies depending on the region you live in. Two factors to consider early in your project are the climate in your area and what is necessary to maintain the fence’s appearance and durability,” suggests Corner Post Fence LLC.
“On the lower end of the cost spectrum, custom pressure-treated wood fencing is attractive but requires maintenance and will develop imperfections as it ages. However, when properly installed and maintained, it is the best choice for budget-conscious buyers. Vinyl fencing offers a clean look and is usually maintenance-free, often accompanied by a manufacturer’s warranty.
On the opposite end of the cost spectrum are composite and aluminum materials. Each has its own distinct style and serves as an excellent option for creating privacy in a backyard sanctuary.
Researching the internet, utilizing cost estimators, and consulting with a fence professional are excellent ways to gain the necessary knowledge. These steps should be taken well in advance of starting your project.”
Courtesy of Corner Post Fence LLC
Privacy fence ideas
You might be wondering what type of fence you should get to add privacy and beauty to your outdoor space. We’ve compiled a variety of privacy fence ideas to suit your preferences, whether you’re aiming for a classic look, a modern design, or a touch of greenery.
1. Board-on-board wood fence
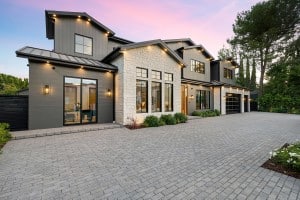
A classic and popular choice for privacy, the board-on-board wood fence features overlapping vertical boards on both sides of the fence, creating a seamless look with no gaps between the boards. This design provides maximum privacy and a clean, attractive appearance.
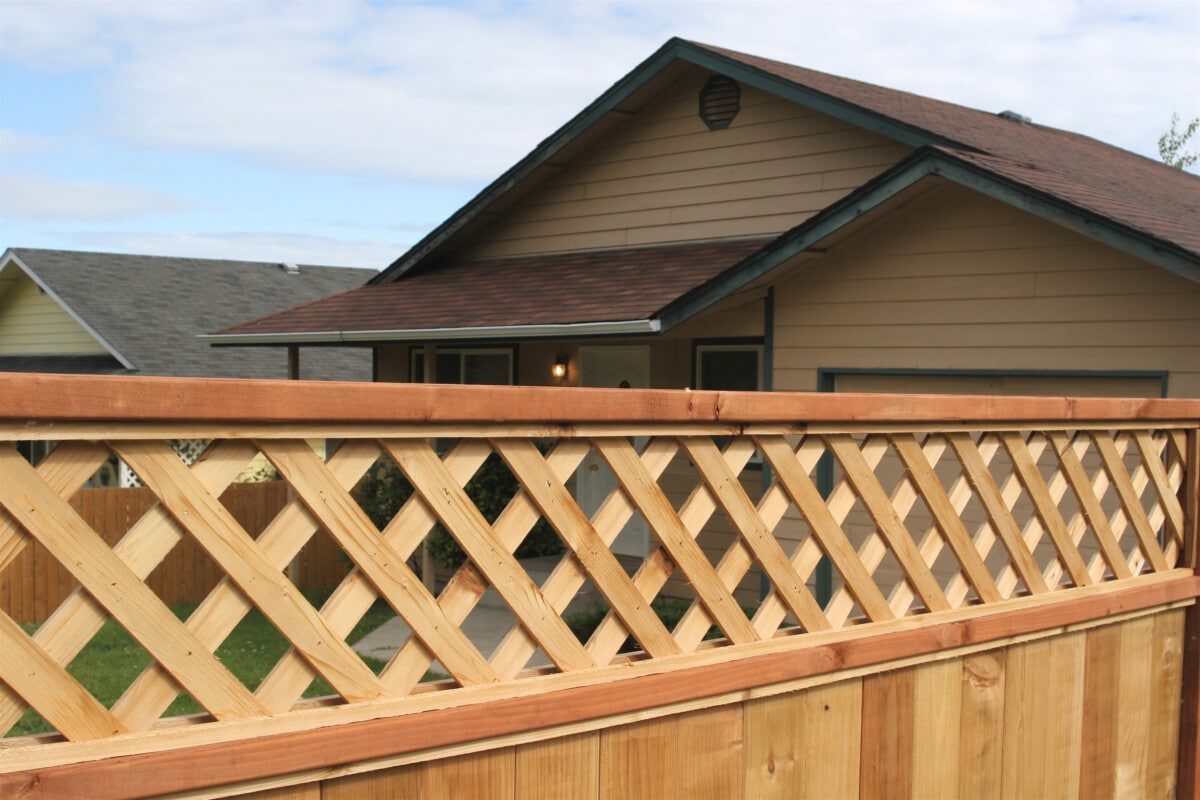
2. Vinyl privacy fence with lattice top
Vinyl fences offer low maintenance and durability. Adding a lattice top to a vinyl privacy fence not only increases height and privacy but also adds an elegant touch. The lattice allows some sunlight and air to pass through while maintaining a sense of seclusion.
3. Bamboo privacy fence
For a natural and eco-friendly option, consider a bamboo privacy fence. Bamboo panels are sustainable, aesthetically pleasing, and provide an exotic touch to your outdoor space. They can be installed as standalone panels or attached to an existing fence structure.
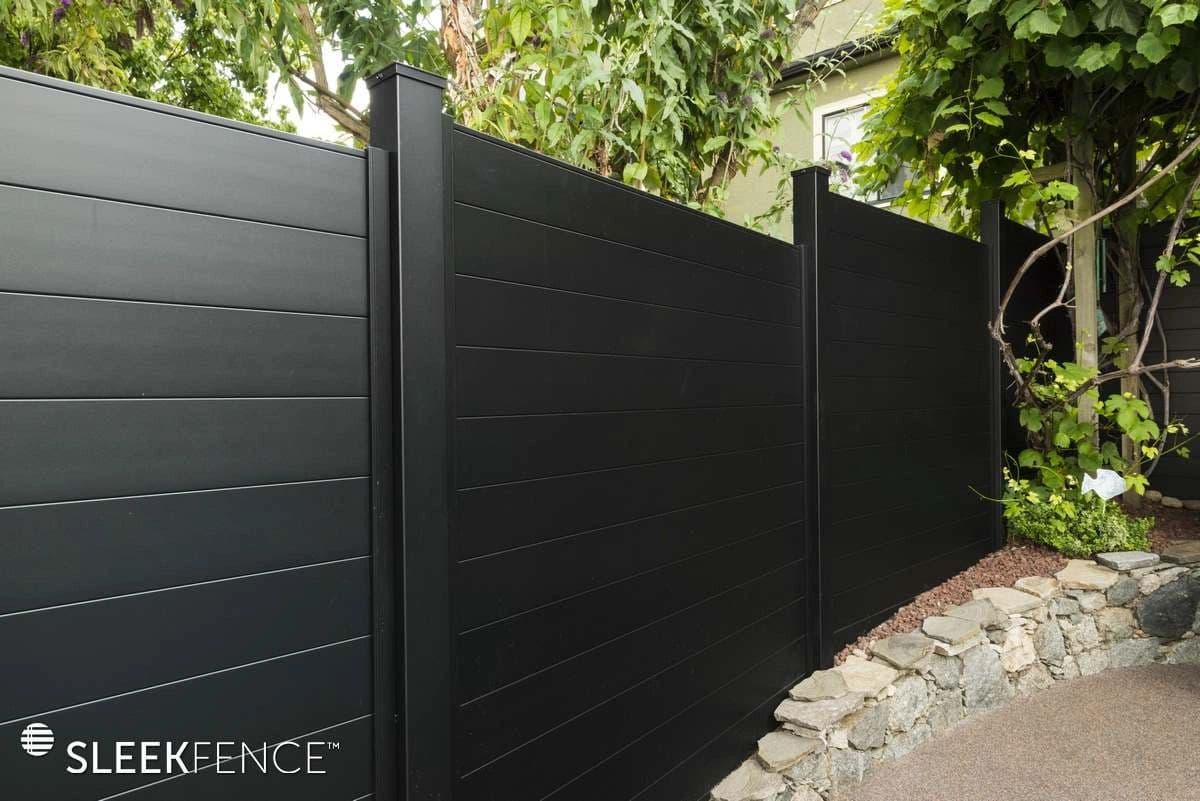
4. Metal privacy screens
Metal privacy screens are a modern and stylish alternative to traditional fences. Available in various patterns and designs, metal screens can add a contemporary touch to your outdoor area while still providing privacy.
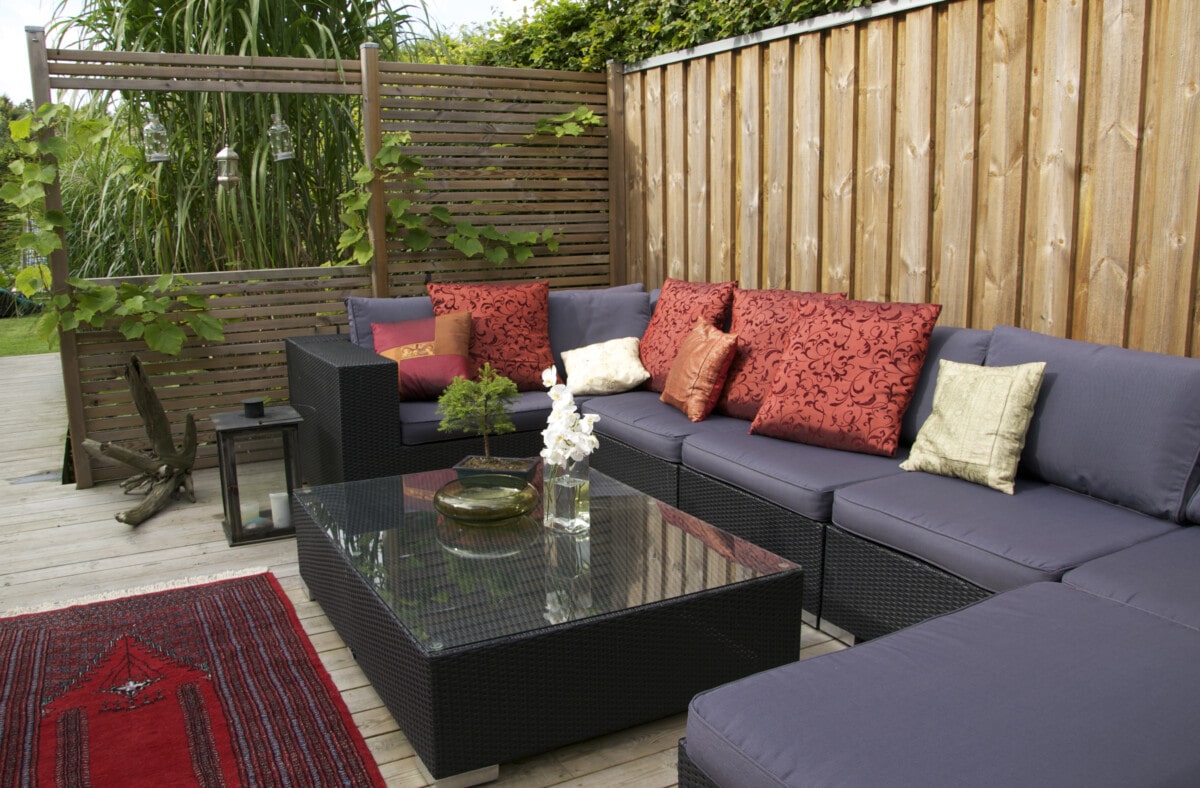
5. Living green privacy wall
Create a living privacy fence with lush greenery by using climbing plants or creating a green wall. Options like ivy, climbing roses, or tall shrubs can soften the appearance of your fence and add a natural, inviting ambiance to your yard.
How to build a privacy fence
1. Check local regulations
Before starting on your privacy fence project, it’s crucial to research and understand the local regulations, building codes, zoning ordinances, and any guidelines set forth by your homeowner association. These rules can vary significantly from one area to another and may dictate the maximum height, setback requirements, permitted materials, and other restrictions related to fence installation. Ignoring these regulations could lead to costly fines or having to tear down non-compliant fences. You can contact your local building department or visit their website to obtain the necessary information.
2. Determine the fence’s location and layout
Careful planning of the fence’s location and layout is essential to ensure you get the most out of your privacy fence. Start by marking the fence line using stakes and strings. Double-check the measurements to avoid any encroachment onto neighboring properties. Consider factors such as property lines, existing structures, trees, and landscaping that may influence the fence’s placement. Think about how the fence will affect the flow of your outdoor space, where the main entrances will be, and how it will provide the desired privacy. Taking time to plan the layout will save you from potential complications during the construction phase.
3. Gather the required materials and tools
Once you have the fence layout planned out, it’s time to gather all the necessary materials and tools. Start by choosing the right fence materials that align with your budget and aesthetic preferences. Popular privacy fence options include wood, vinyl, aluminum, and composite materials. Depending on your choice, purchase fence panels, posts, gate hardware, screws, and other required accessories.
Additionally, ensure you have the appropriate tools to complete the project efficiently and accurately. Common tools for building a privacy fence include a post hole digger, shovel, level, tape measure, saw, drill, and a hammer. Quality materials and proper tools will ensure a sturdy and long-lasting privacy fence that withstands the elements and provides the desired level of privacy.
4. Prepare the ground
Before commencing the actual fence installation, you must prepare the ground along the fence line. Clear the area of any vegetation, debris, or obstacles that could hinder the fence’s construction. If your area experiences heavy rain or has poor yard drainage, consider grading the ground to ensure proper water runoff. Once the area is clear, begin digging the post holes. The depth of the holes should be at least one-third of the length of the fence posts to provide stability.
Use a post hole digger or an auger to dig the holes uniformly, and ensure they are straight and level. Installing the fence on uneven ground can lead to an uneven appearance and structural issues, so take your time to achieve a level and solid foundation.
5. Install fence posts
After digging the post holes, it’s time to install the fence posts. Place the posts into the holes and fill the bottom with a few inches of gravel. The gravel helps with drainage and prevents water from pooling around the base of the posts, which can lead to rot over time. Use a level to ensure each post is plumb and straight before proceeding. Once the posts are correctly positioned, it’s time to set them in concrete.
Follow the manufacturer’s instructions for mixing and pouring the concrete, making sure it reaches the desired strength. Allow the concrete to cure completely before moving on to the next steps. Properly installed and secured posts are the backbone of a sturdy privacy fence, providing stability and support for the entire structure.
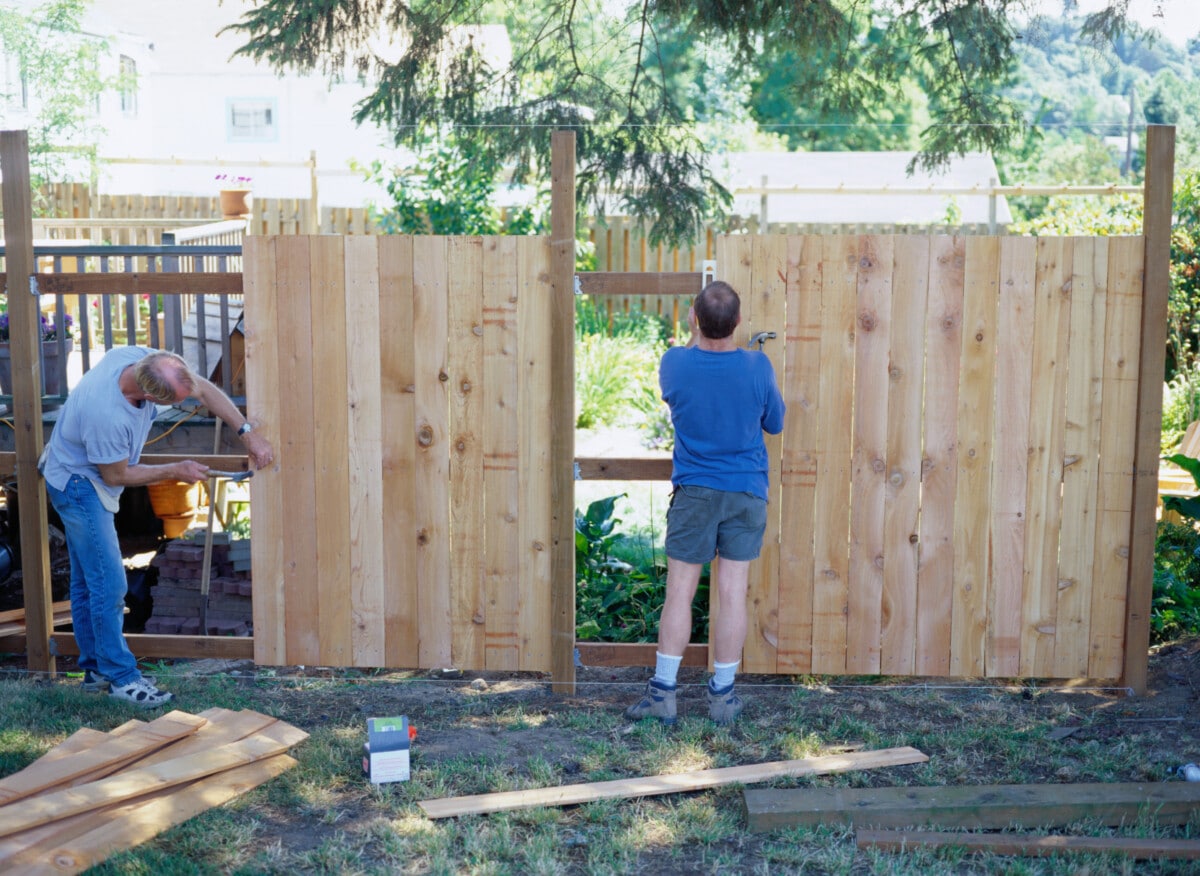
6. Attach fence panels
With the fence posts set in concrete, it’s time to attach the fence panels to complete your privacy fence. Begin by aligning the first fence panel with the first two posts and attach it using screws or brackets. Ensure the panel is level and plumb before moving on to the next section. Repeat this process for each panel, ensuring uniform spacing between them for a consistent and professional appearance.
If you have chosen pre-built fence panels, it will make the installation process smoother. However, if you are using individual pickets, take extra care to align and attach them evenly. Additionally, if you have any gates in your fence design, make sure to follow the manufacturer’s instructions to install them securely and smoothly.
Remember to follow safety precautions while digging and working with heavy materials and tools. Double-check all measurements and levels throughout the process to ensure accuracy and alignment.
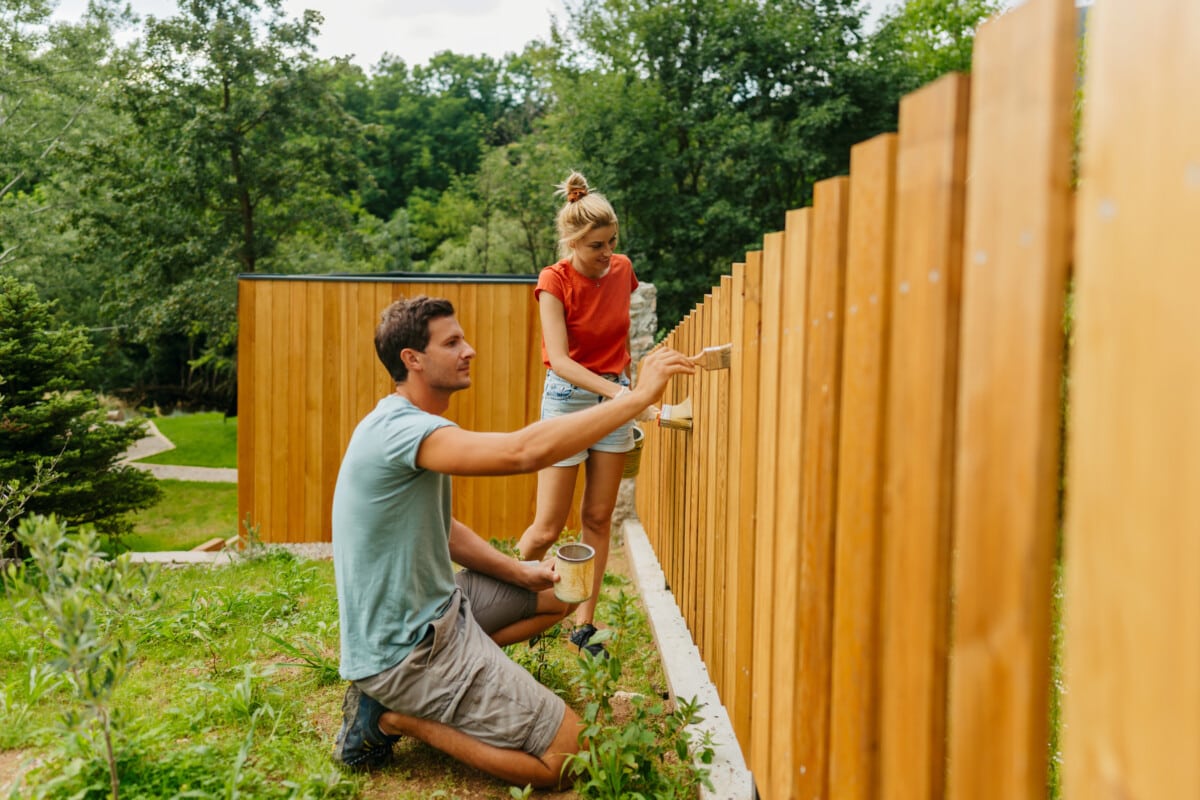
7. Add finishing touches
After the fence panels are securely attached, it’s time to add some finishing touches to enhance the overall appearance and functionality of your privacy fence. If you opted for wooden fencing, consider trimming the tops of the fence posts for a more polished and cohesive look. You can choose from various decorative post cap designs that complement your property’s style. Post caps not only add an aesthetic appeal but also protect the fence posts from moisture and potential rot.
Additionally, if your fence design includes a gate, install latches and handles that match the overall style of the fence. Ensure the gate operates smoothly and securely, and consider adding a self-closing mechanism for added convenience and safety.
8. Double-check stability
Before completing the fence installation, thoroughly inspect the entire fence for stability and structural integrity. Ensure that all fence panels are securely attached to the posts and that the posts are firmly set in the concrete footings. Wiggle the fence panels and gates to check for any loose connections. Use a level to ensure the fence panels are still straight and aligned correctly. Address any issues you find promptly to avoid future problems.
9. Test the privacy
After completing the fence installation, take the time to test the privacy it provides. Stand at various points around your property to assess if the fence effectively shields your outdoor space from eyes. Make any necessary adjustments, such as adding more privacy-enhancing elements like lattice panels or planters with climbing vines. Depending on your property’s layout and the surrounding environment, you may discover specific areas where additional privacy measures are needed.
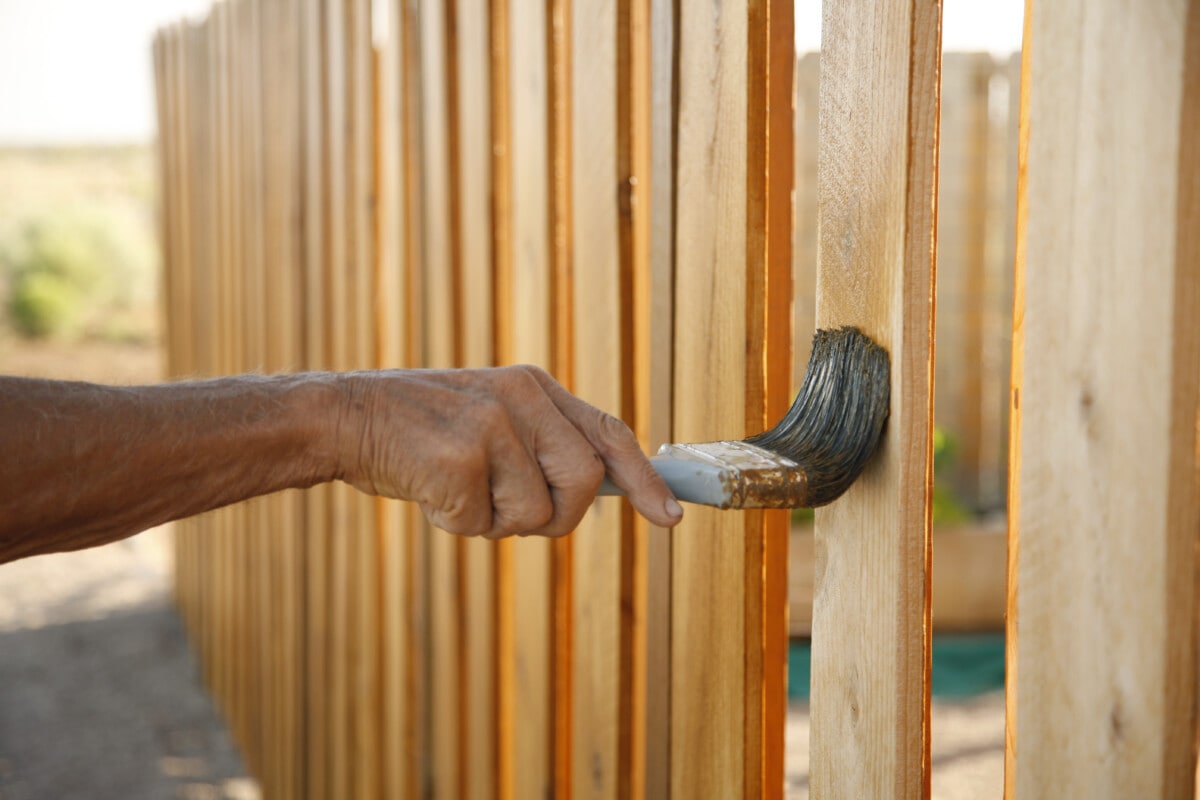
10. Maintain your fence
To prolong the life and appearance of your privacy fence, regular maintenance is essential. Perform routine inspections to check for any loose screws, damaged panels, or signs of wear. Clean the fence periodically to remove dirt, debris, and mold growth, especially in damp environments. Depending on the fence material, you may need to apply protective coatings or treatments to shield it from the elements. Wooden fences may require staining or sealing every few years to prevent rot and decay.
The dos and don’ts to building privacy fences
To ensure a successful and satisfying project, it’s essential to consider both the dos and don’ts of fence construction.
Do’s for building a privacy fence
1. Do consult your neighbors
Before starting your privacy fence project, communicate with your neighbors about your plans. Inform them about the fence’s design, height, and location to avoid any potential disputes or surprises. While you might have the legal right to build the fence within your property boundaries, maintaining a good relationship with your neighbors fosters a sense of community and reduces the likelihood of conflicts arising in the future.
2. Do consider wind resistance
If you live in an area prone to strong winds or storms, consider the wind resistance of your privacy fence. Tall and solid fences can act as a wind barrier and create pressure on the fence panels and posts. To mitigate this, opt for fence designs that allow wind to pass through, such as lattice or picket fences. Alternatively, create small gaps between the panels or use fence materials with spaces, which reduces the wind load and minimizes the risk of damage during storms.
3. Do call utility companies before digging
Before digging the fence post holes, call your local utility companies to mark any buried utility lines on your property. Striking underground utilities can lead to dangerous situations and costly repairs. Utility companies usually offer this service for free, and marking the lines will ensure you avoid any accidental damage during the fence installation process.
Don’ts for building a pivacy fence
1. Don’t forget about gate access
When designing your privacy fence, don’t overlook the importance of gate access. Ensure your fence has appropriately sized gates to accommodate easy movement of people, equipment, and furniture in and out of your property. Consider installing a wider gate for vehicle access if required. Choose gate hardware, such as hinges and latches, that are durable and designed to support the weight of the gates to prevent sagging or misalignment.
2. Don’t ignore the quality of materials
While budget considerations are essential, don’t compromise on the quality of materials for your privacy fence. Choosing durable and weather-resistant materials will ensure your fence stands the test of time and requires less maintenance. Investing in high-quality materials upfront can save you money on frequent repairs and replacements in the long run.
3. Don’t disregard drainage considerations
When installing your fence, don’t overlook the importance of proper drainage. Improperly planned fences can impede water flow, leading to water pooling around the fence posts or panels. Over time, this can cause rot and weaken the fence’s foundation. To avoid this issue, ensure the ground slopes away from the fence or incorporate drainage solutions like French drains to divert water away from the fence line.